ShieldDefense.net – Suspicious Things

ShieldDefense.net is not a safe search engine, if you wish to continue using it then you will be putting your privacy at higher risk. As it collects your various online browsing details without your knowledge and claims to do so for enhancing your search experience. But the fact is something else. The brand new fake search engine developers will misuse your credentials for generating the relevant online ads and gaining more fraud click. Each of your clicks will generate Pay-per-click revenue for its developers (the people who are behind its release and control). It will surely not improve your search result and take benefits of your clicks to earn affiliate marketing commission.
Following intrusion, you will notice so many strange behaviors and sudden changes within your favorite web browsers. You should remember that ShieldDefense.net has ability to replace your default search engine with its official website, set malicious site link as your Newtab window and alter your DNS settings without needing your permission. It is possible that you might get attracted to this fake search engine because of its first appearance. You might think changing look and feel of your browser's homepage will not affect your online surfing experience. Please hold on, ShieldDefense.net is not trustworthy as Google search or Bing search. So before using it you should think about its malicious doings.
How could you prevent ShieldDefense.net attacks?
The most essential solution is – pay your best attention while you install free software or games from less reputed websites. Today, hundreds of free file hosting websites are using “bundling” technique to earn Pay-per-install commission. Actually, when you visit their sites to download necessary freeware like Adobe flash player, Video player, PDF reader or other programs, they bundle it up with optional programs like ShieldDefense.net and performs stealth installation.
Thus, if you don't choose Custom or Advanced installation option then you will never know what optional programs are being installed in the background. Indeed, you should not make this mistake if your care about safety of your privacy. At this time, we suggest you to uninstall ShieldDefense.net using following guide:
>>Free Download ShieldDefense.net Scanner<<

How to Manually Remove ShieldDefense.net From Compromised PC ?
Uninstall ShieldDefense.net and Suspicious Application From Control Panel
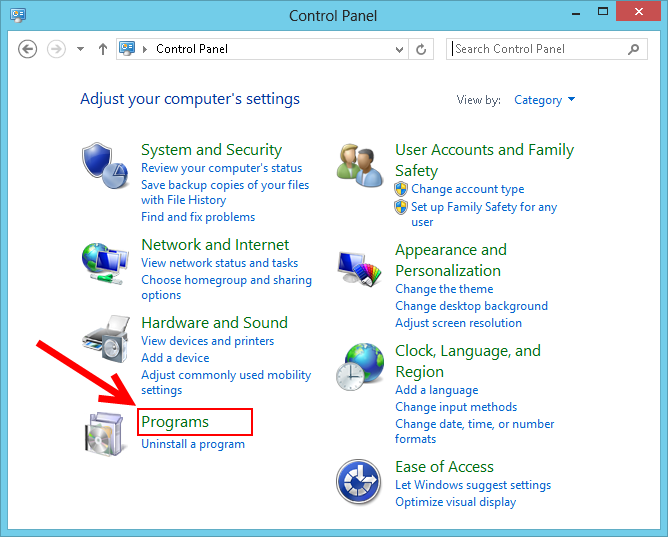
Step 1. Right Click on the Start button and select Control Panel option.
![]()
Step 2. Here get Uninstall a Program Option under the Programs.
Step 3. Now you can see all installed and recently added applications at a single place and you can easily remove any unwanted or unknown program from here. In this regard you only need to choose the specific application and click on Uninstall option.

Note:- Sometimes it happens that removal of ShieldDefense.net does not work in expected way, but you need not to worry, you can also take a chance for the same from Windows registry. To get this task done, please see the below given steps.
Complete ShieldDefense.net Removal From Windows Registry
Step 1. In order to do so you are advised to do the operation in safe mode and for that you have to restart the PC and Keep F8 key for few second. You can do the same with different versions of Windows to successfully carry out ShieldDefense.net removal process in safe mode.

Step 2. Now you should select Safe Mode option from several one.

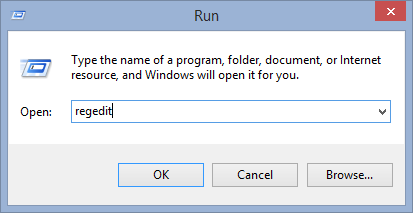
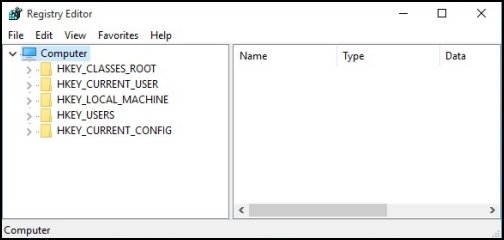
Step 3. After that it is required to press Windows + R key simultaneously.

Step 4. Here you should type “regedit” in Run text box and then press OK button.
Step 5. In this step you are advised to press CTRL+F in order to find malicious entries.
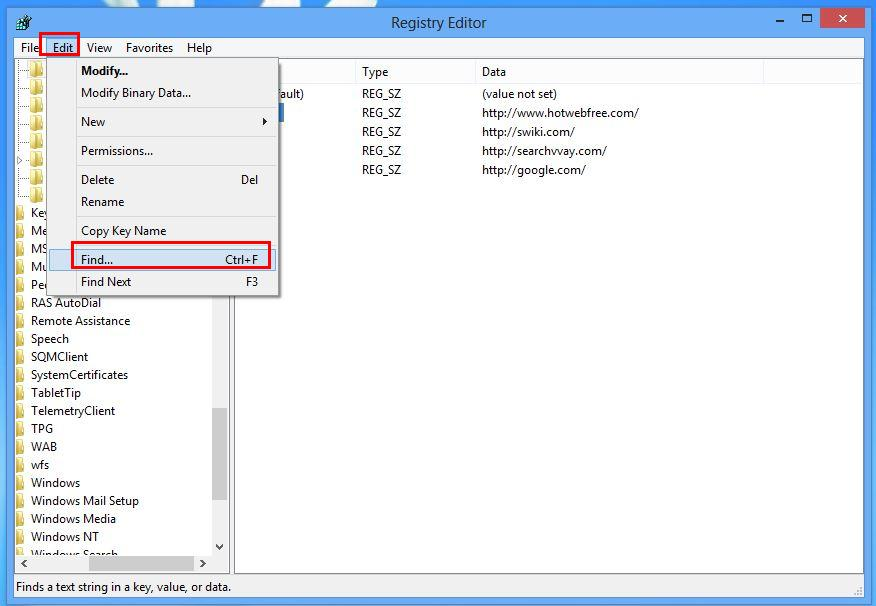
Step 6. At last you only have all the unknown entries created by ShieldDefense.net hijacker and you have to delete all unwanted entries quickly.
Easy ShieldDefense.net Removal from Different Web browsers
Malware Removal From Mozilla Firefox
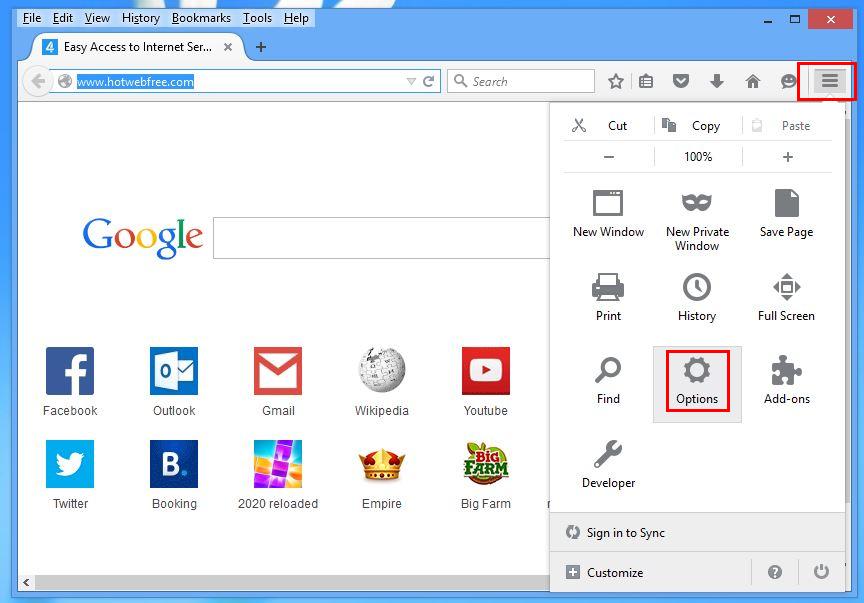
Step 1. Launch Mozilla Firefox and go to “Options“
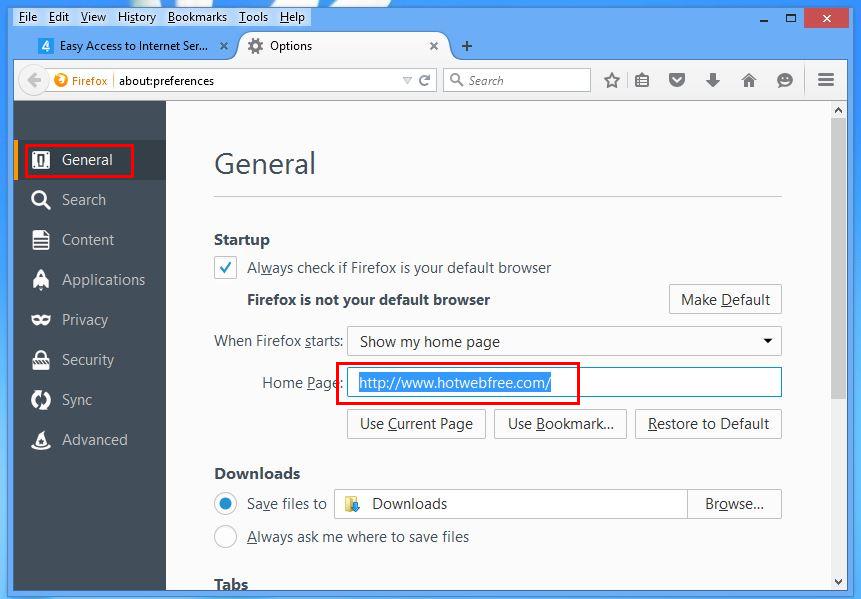
Step 2. In this window If your homepage is set as ShieldDefense.net then remove it and press OK.
Step 3. Now you should select “Restore To Default” option to make your Firefox homepage as default. After that click on OK button.
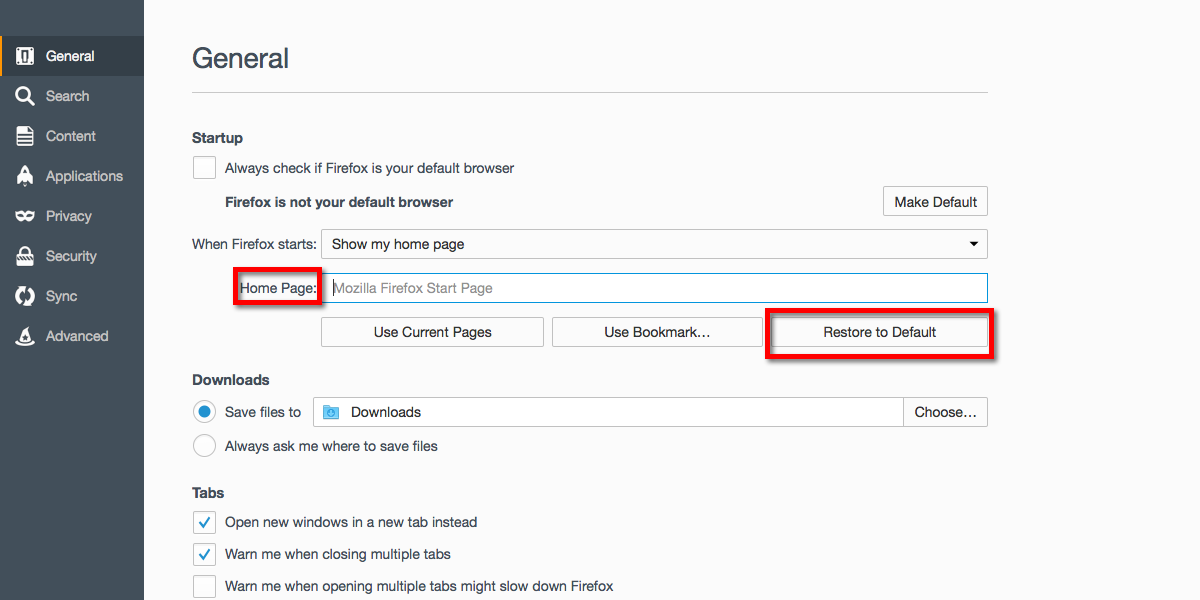
Step 4. In the next window you have again press OK button.
Experts Recommendation:- Security analyst suggest to clear browsing history after doing such activity on the browser and for that steps are given below, have a look:-
Step 1. From the Main Menu you have to choose “History” option at the place of “Options” that you have picked earlier.

Step 2. Now Click Clear Recent History option from this window.

Step 3. Here you should select “Everything” from Time range to clear option.

Step 4. Now you can tick all check boxes and press Clear Now button to get this task completed. Finally restart the PC.
Remove ShieldDefense.net From Google Chrome Conveniently
Step 1. Launch the Google Chrome browser and pick Menu option and then Settings from the top right corner on the browser.
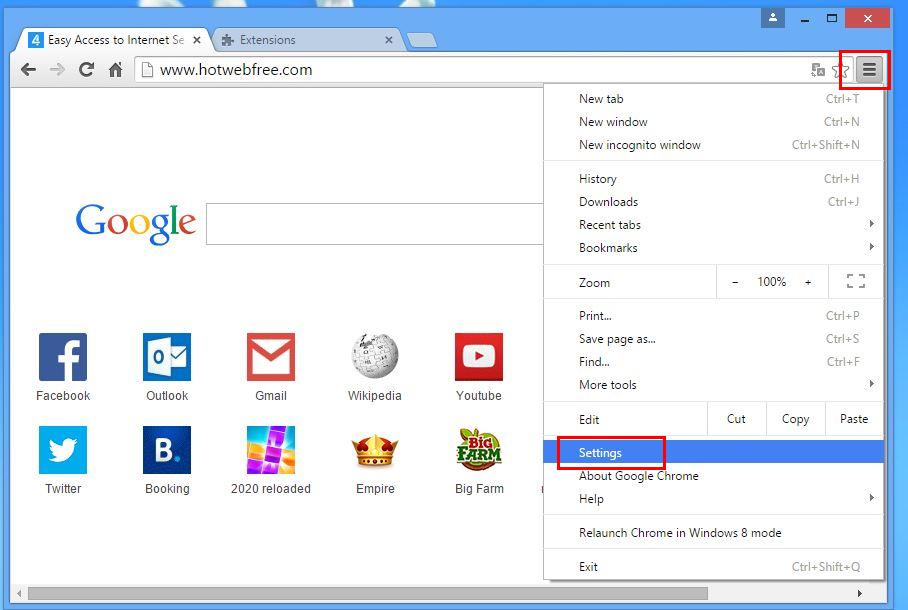
Step 2. From the On Startup section, you need to pick Set Pages option.
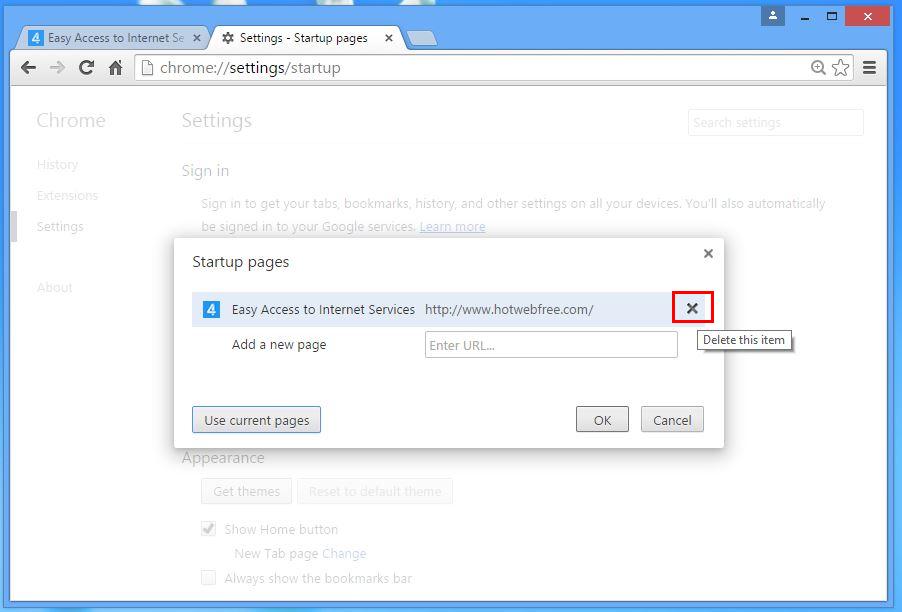
Step 3. Here if you find ShieldDefense.net as a startup page then remove it by pressing cross (X) button and then click on OK.
Step 4. Now you need to choose Change option in the Appearance section and again do the same thing as done in previous step.

Know How To Clean History on Google Chrome
Step 1. After clicking on Setting option from the Menu, you will see History option in the left panel of the screen.

Step 2. Now you should press Clear Browsing Data and also select time as a “beginning of time“. Here you also need to choose options that want to get.

Step 3. Finally hit the Clear Browsing data.
Solution To Remove Unknown ToolBar From Browsers
If you want to delete unknown toolbar created by ShieldDefense.net then you should go through the below given steps that can make your task easier.
For Chrome:-
Go to Menu option >> Tools >> Extensions >> Now choose the unwanted toolbar and click Trashcan Icon and then restart the browser.

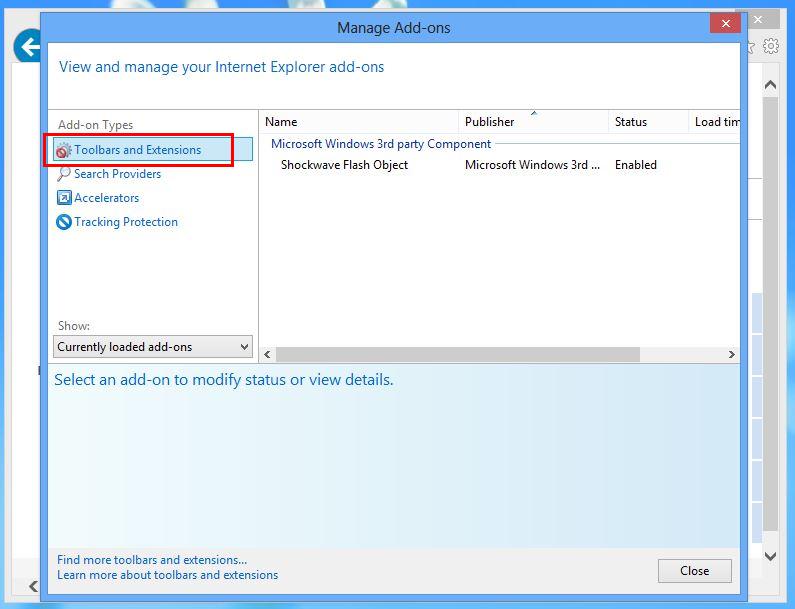
For Internet Explorer:-
Get the Gear icon >> Manage add-ons >> “Toolbars and Extensions” from left menu >> now select required toolbar and hot Disable button.
Mozilla Firefox:-
Find the Menu button at top right corner >> Add-ons >> “Extensions” >> here you need to find unwanted toolbar and click Remove button to delete it.

Safari:-
Open Safari browser and select Menu >> Preferences >> “Extensions” >> now choose toolbar to remove and finally press Uninstall Button. At last restart the browser to make change in effect.


Still if you are having trouble in resolving issues regarding your malware and don’t know how to fix it, then you can submit your questions to us and we will feel happy to resolve your issues.

Related Posts
 ExecutiveOperation Search Removal: Best Way To Remove ExecutiveOperation Search In Simple Clicks
- Best Way To Get Rid Of IMovieSearch Search
- Delete MixedFin from Internet Explorer : Clear Away MixedFin
- Deleting Search-fine.com Manually
- Delete Search.basicgeneration.com from Opera
- Removing Spacerin Search Easily