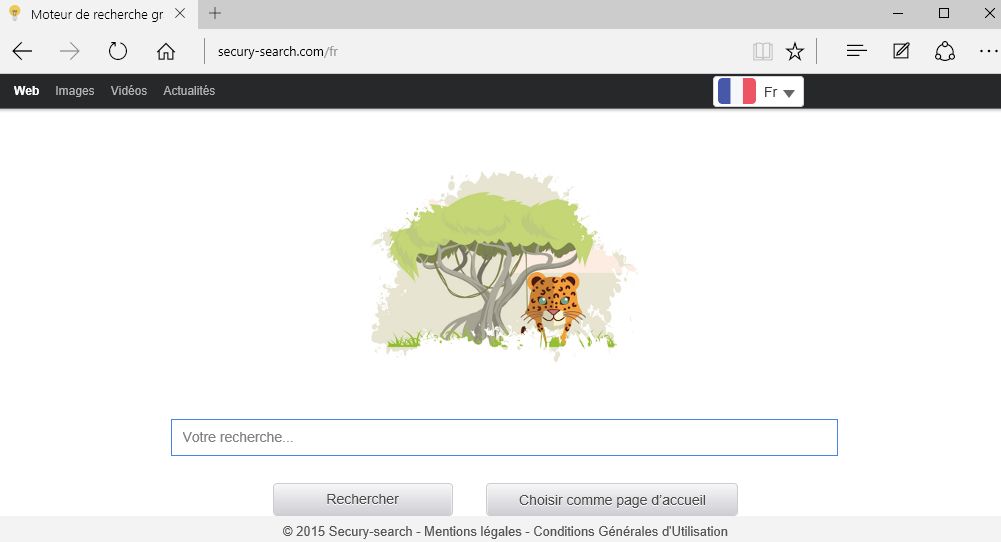
Is Secury Search or Secury-search.com a legit search engine?

Secury Search may seem like a reliable search engine website that can be used by French-speaking system users. However, this domain is considered as a trustworthy search engine domain and you should never use it for your regular browsing or online searches. If you cannot find issues in this hijacker virus, then RMV security experts should warn you that its displays sponsored search results for its victimized users. The main aim of this threat is to drive visitor's traffic to predetermined web pages and increase their sale and popularity. One of the biggest issue with such annoying activity is that you can never know how reliable and trustworthy such web portal is. In addition to that, Secury Search hijacker can end up with unwanted pop-up advertisements and errors on each of your installed web browsers.
Once it is installed on your system, you can run into bogus warning alerts about some updates, machine problems, and virus infection. However, please do not fall for such error notifications because the main objective of these pop-ups is to infect your computer with other precarious viruses. There is also another fact which makes Secury Search questionable is that it spreads bundled with the help of bundling method. As a result, you can easily end up with installing this dubious browser extension after a careless installation of any freeware or shareware program. In order to prevent installing unwanted applications, you should opt for 'Advanced' or 'Custom' installation settings, because unfamiliar components comes bundled as an optional or additional program.
Annoyances Caused by Secury Search Hijacker
After successfully infiltrating your Windows machine, it alters the default homepage, new tab address, search engine website and similar other things onto your web browser without asking for your permission. Furthermore, Secury Search is compatible with all popular web browsers like Mozilla Firefox, Microsoft Edge, Internet Explorer, Safari, Opera, Google Chrome and others. Hence, don't be surprised after noticing that you cannot avoid its assistance. Once the hijacker does that, victims start noticing unwanted browser redirects, intrusive pop-up ads and similar problems. If you really do not want to deal with unfamiliar redirects to affiliate domains, slow downs, and similar issues, then all you need to do is to remove this questionable search engine domain as soon as possible. If you are frustrated by its displayed search results and annoying adverts, you should follow a manual removal guide provided below in this post. In case, if you want to delete Secury Search automatically from your PC, then you should use a reputable anti-spyware scanner like the one enlisted below in this article.
>>Free Download Secury Search Scanner<<

Know How to Uninstall Secury Search Manually From Windows PC
In order to do it, it is advised that, start your PC in safe mode by just following the steps:-
Step 1. Restart your computer and Press F8 button until you get the next window.

Step 2. After that on the new screen you should select Safe Mode option to continue this process.

Now Show Hidden Files As Follows :
Step 1. Go to Start Menu >> Control Panel >> Folder Option.

Step 2. Now Press View Tab >> Advance Setting category >> Hidden Files or Folders.

Step 3. Here you need to tick in Show hidden files, folder or drives.
Step 4. Finally hit Apply and then OK button and at the end close the current Window.
Time To Delete Secury Search From Different Web browsers
For Google Chrome
Steps 1. Start Google Chrome and hot Menu icon at the top right corner of the screen and then select Settings option.

Step 2. Here you need to select required search provider in Search option.

Step 3. You can also manage search engine and make it your personalize setting by clicking on Make it default button.

Reset Google Chrome Now in given way:-
Step 1. Get Menu Icon >> Settings >> Reset settings >> Reset

For Mozilla Firefox:-
Step 1. Start Mozilla Firefox >> Setting icon >> Options.

Step 2. Press Search option and pick required search provider to make it default and also remove Secury Search from here.

Step 3. You can also add other search option on your Mozilla Firefox.
Reset Mozilla Firefox
Step 1. Choose Settings >> Open Help Menu >> Troubleshooting >> Reset Firefox

Step 2. Again click Reset Firefox to eliminate Secury Search in easy clicks.

For Internet Explorer
If you want to remove Secury Search from Internet Explorer then please follow these steps.
Step 1. Start your IE browser and select Gear icon >> Manage Add-ons.

Step 2. Choose Search provider >> Find More Search Providers.

Step 3. Here you can select your preferred search engine.

Step 4. Now Press Add to Internet Explorer option >> Check out Make this my Default Search Engine Provider From Add Search Provider Window and then click Add option.

Step 5. Finally relaunch the browser to apply all modification.
Reset Internet Explorer
Step 1. Click on Gear Icon >> Internet Options >> Advance Tab >> Reset >> Tick Delete Personal Settings >> then press Reset to remove Secury Search completely.

Clear browsing History and Delete All Cookies
Step 1. Start with the Internet Options >> General Tab >> Browsing History >> Select delete >> Check Website Data and Cookies and then finally Click Delete.

Know How To Fix DNS Settings
Step 1. Navigate to the bottom right corner of your desktop and right click on Network icon, further tap on Open Network and Sharing Center.

Step 2. In the View your active networks section, you have to choose Local Area Connection.

Step 3. Click Properties at the bottom of Local Area Connection Status window.

Step 4. Next you have to choose Internet Protocol Version 4 (TCP/IP V4) and then tap on Properties below.

Step 5. Finally enable the Obtain DNS server address automatically option and tap on OK button apply changes.


Well if you are still facing issues in removal of malware threats then you can feel free to ask questions. We will feel obliged to help you.

Related Posts
 ExecutiveOperation Search Removal: Best Way To Remove ExecutiveOperation Search In Simple Clicks
- Best Way To Get Rid Of IMovieSearch Search
- Delete MixedFin from Internet Explorer : Clear Away MixedFin
- Deleting Search-fine.com Manually
- Delete Search.basicgeneration.com from Opera
- Removing Spacerin Search Easily