
Searchgle.com – Facts
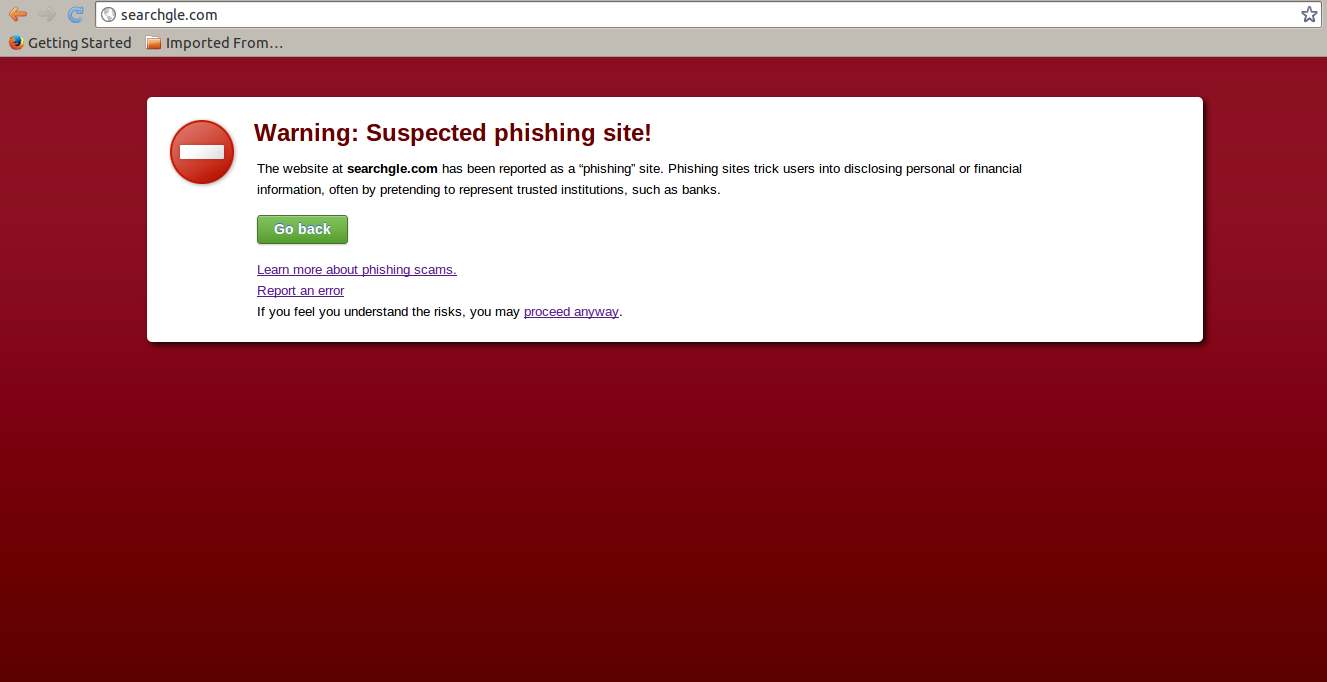
Searchgle.com has already been reported as a Phishing website which tricks visitors into disclosing credentials or financial information, though often by pretending to represent trusted organization like Banks, Universities, IT Companies. You should know that it looks like a dubious search engine page similar to Google, so at first you may not have doubt on it. You may think that it will enhance your searching experience but at the end of the day you may realize that you've made a big mistake that you shouldn't have. It changes your default search provider including homepage and newtab links by injecting JavaScript code into your browser. Even, it disables browser's self protect settings so that you don get any notification when a hundred of new windows get opened on your web browser or browsers get redirected to Phishing websites. If you are not infected with Searchgle.com and planing to set it as your default search provider. We strongly suggest not to do it because it belongs to the browser hijacker category known for stealing confidential information. Basically, there are several numbers of browser extensions that support or has partnership with Searchgle.com. If your PC has been infected with any Potentially unwanted program, you should remove them as early as possible.
Furthermore, this hijacker gets inside your Windows system mostly through free software installers/downloader, via drive by downloads from other spamming websites which have less reputation. Even, a thousand of online software stores promotes it on their web pages as a legitimate and useful program but you should not trust them. Because they promote it for money, they get paid by malicious software developers and even you can not file any lawsuit against them because at the time of software installation you skip reading EULA has all detailed information about terms and conditions. So, it is better to gather necessary information and get rid of it immediately.
Searchgle.com – Distribution Tactics
we recommend you to remember its distribution tactics so that next time, your PC doesn't get infected and you do not repeat the same mistake again.
-
Through freeware installers that come bundled with Searchgle.com
-
Via Spam emails that contain suspicious attachments or links
-
Via drive by downloads from spamming websites
-
From peer to peer file sharing networks like Torrents
-
Through USBs like Pendrive, Hard drive, Sdcards etc.
Harms caused by Searchgle.com
This browser hijacker changes your browsers settings in order to endanger your PC like redirects your browser to various websites for promoting products and generating pay per click revenue, steals your credentials like passwords, emails, mailing address, Phone numbers, financial information like credit card numbers, PIN, bank account details etc. They may act like an official assistance person from reputed institution to get your information and cheat your money.
Hence, we recommend you to get rid of Searchgle.com as soon as possible.
>>Free Download Searchgle.com Scanner<<

Know How to Uninstall Searchgle.com Manually From Windows PC
In order to do it, it is advised that, start your PC in safe mode by just following the steps:-
Step 1. Restart your computer and Press F8 button until you get the next window.

Step 2. After that on the new screen you should select Safe Mode option to continue this process.

Now Show Hidden Files As Follows :
Step 1. Go to Start Menu >> Control Panel >> Folder Option.

Step 2. Now Press View Tab >> Advance Setting category >> Hidden Files or Folders.

Step 3. Here you need to tick in Show hidden files, folder or drives.
Step 4. Finally hit Apply and then OK button and at the end close the current Window.
Time To Delete Searchgle.com From Different Web browsers
For Google Chrome
Steps 1. Start Google Chrome and hot Menu icon at the top right corner of the screen and then select Settings option.

Step 2. Here you need to select required search provider in Search option.

Step 3. You can also manage search engine and make it your personalize setting by clicking on Make it default button.

Reset Google Chrome Now in given way:-
Step 1. Get Menu Icon >> Settings >> Reset settings >> Reset

For Mozilla Firefox:-
Step 1. Start Mozilla Firefox >> Setting icon >> Options.

Step 2. Press Search option and pick required search provider to make it default and also remove Searchgle.com from here.

Step 3. You can also add other search option on your Mozilla Firefox.
Reset Mozilla Firefox
Step 1. Choose Settings >> Open Help Menu >> Troubleshooting >> Reset Firefox

Step 2. Again click Reset Firefox to eliminate Searchgle.com in easy clicks.

For Internet Explorer
If you want to remove Searchgle.com from Internet Explorer then please follow these steps.
Step 1. Start your IE browser and select Gear icon >> Manage Add-ons.

Step 2. Choose Search provider >> Find More Search Providers.

Step 3. Here you can select your preferred search engine.

Step 4. Now Press Add to Internet Explorer option >> Check out Make this my Default Search Engine Provider From Add Search Provider Window and then click Add option.

Step 5. Finally relaunch the browser to apply all modification.
Reset Internet Explorer
Step 1. Click on Gear Icon >> Internet Options >> Advance Tab >> Reset >> Tick Delete Personal Settings >> then press Reset to remove Searchgle.com completely.

Clear browsing History and Delete All Cookies
Step 1. Start with the Internet Options >> General Tab >> Browsing History >> Select delete >> Check Website Data and Cookies and then finally Click Delete.

Know How To Fix DNS Settings
Step 1. Navigate to the bottom right corner of your desktop and right click on Network icon, further tap on Open Network and Sharing Center.

Step 2. In the View your active networks section, you have to choose Local Area Connection.

Step 3. Click Properties at the bottom of Local Area Connection Status window.

Step 4. Next you have to choose Internet Protocol Version 4 (TCP/IP V4) and then tap on Properties below.

Step 5. Finally enable the Obtain DNS server address automatically option and tap on OK button apply changes.


Well if you are still facing issues in removal of malware threats then you can feel free to ask questions. We will feel obliged to help you.

Related Posts
 ExecutiveOperation Search Removal: Best Way To Remove ExecutiveOperation Search In Simple Clicks
- Best Way To Get Rid Of IMovieSearch Search
- Delete MixedFin from Internet Explorer : Clear Away MixedFin
- Deleting Search-fine.com Manually
- Delete Search.basicgeneration.com from Opera
- Removing Spacerin Search Easily