
If your computer has been infected by Need2Find.net and you want to know about Need2Find.net and its removal instructions. Then you need to read this post. This post will loaded all information about Need2Find.net and its removal.

General Information about Need2Find.net
Need2Find.net is a dubious website that redirects your favorite browser and replaces your default homepage. Its bundled with free software and offered during the installation process. Need2Find.net cause many problems on the targeted computers. This hijacker annoys you so much and you will always be redirected to some spam and fake websites. It installs other malicious threats or unwanted applications to your system. After that, all your browsers might freeze frequently and your computer work very slowly. Need2Find.net is a tricky infection that infiltrate into the computer without your awareness. Users get infected this threat when they click on some sponsored links and visit some third party websites. It has able to display different types of advertisements and generate huge amount of profits in return. With excessive ads showing up and system performance get failing.
Lots of troubles made by Need2Find.net-
- Need2Find.net add cookies to gather your all confidential data like IP address, password, credit card or debit card number and bank account related details for making money.
- Your default homepage and search engine both are get modified by them.
- It open a backdoor to hackers for remotely control your PC.
- Lots of annoying ads always display every corner of screen.
- You should encounter redirection problem.
- It consume a large number of CPU usage to degrade your PC performance.
- Internet speed become very slow. Therefore, it is very important to get rid of Need2Find.net.
>>Free Download Need2Find.net Scanner<<

How to Manually Remove Need2Find.net From Compromised PC ?
Uninstall Need2Find.net and Suspicious Application From Control Panel
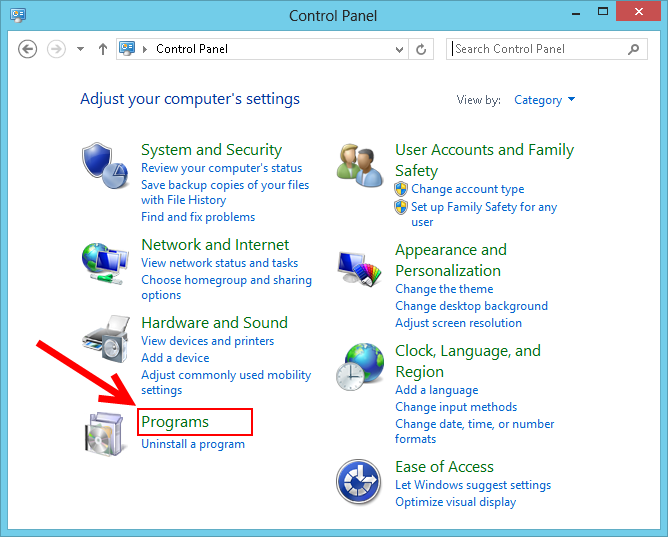
Step 1. Right Click on the Start button and select Control Panel option.
![]()
Step 2. Here get Uninstall a Program Option under the Programs.
Step 3. Now you can see all installed and recently added applications at a single place and you can easily remove any unwanted or unknown program from here. In this regard you only need to choose the specific application and click on Uninstall option.

Note:- Sometimes it happens that removal of Need2Find.net does not work in expected way, but you need not to worry, you can also take a chance for the same from Windows registry. To get this task done, please see the below given steps.
Complete Need2Find.net Removal From Windows Registry
Step 1. In order to do so you are advised to do the operation in safe mode and for that you have to restart the PC and Keep F8 key for few second. You can do the same with different versions of Windows to successfully carry out Need2Find.net removal process in safe mode.

Step 2. Now you should select Safe Mode option from several one.

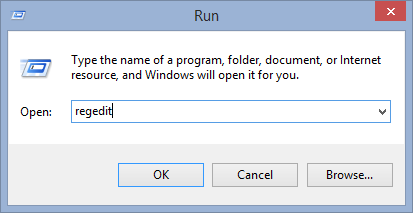
Step 3. After that it is required to press Windows + R key simultaneously.

Step 4. Here you should type “regedit” in Run text box and then press OK button.
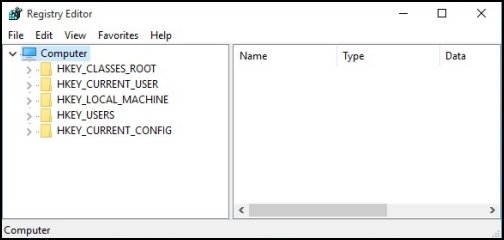
Step 5. In this step you are advised to press CTRL+F in order to find malicious entries.
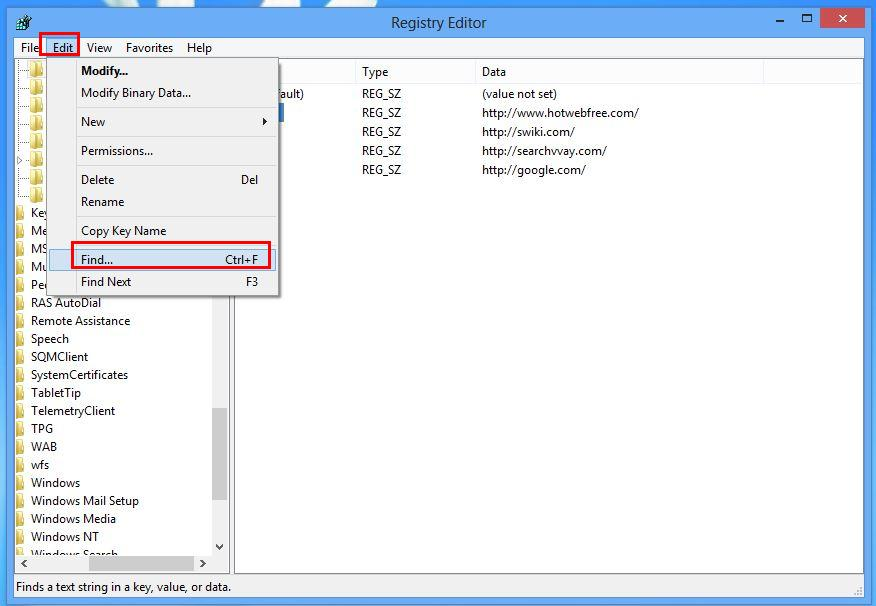
Step 6. At last you only have all the unknown entries created by Need2Find.net hijacker and you have to delete all unwanted entries quickly.
Easy Need2Find.net Removal from Different Web browsers
Malware Removal From Mozilla Firefox
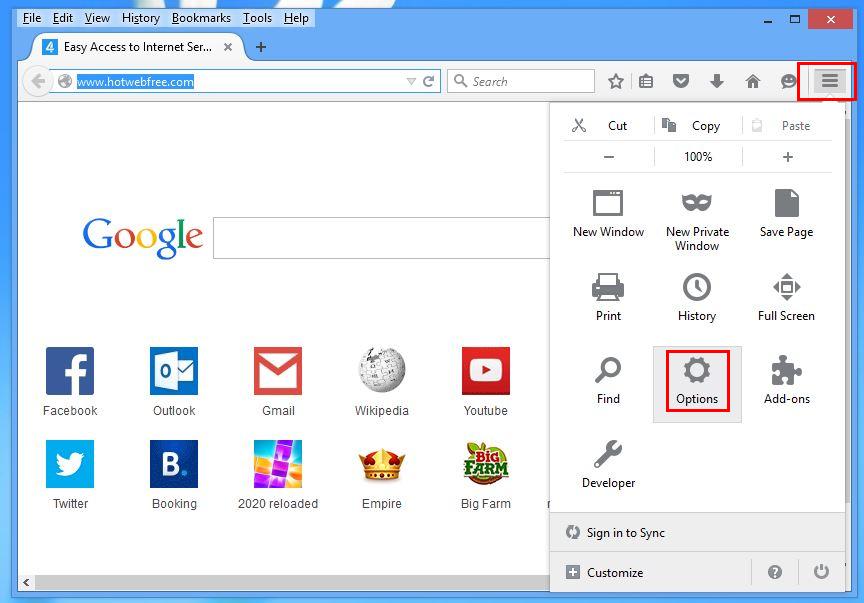
Step 1. Launch Mozilla Firefox and go to “Options“
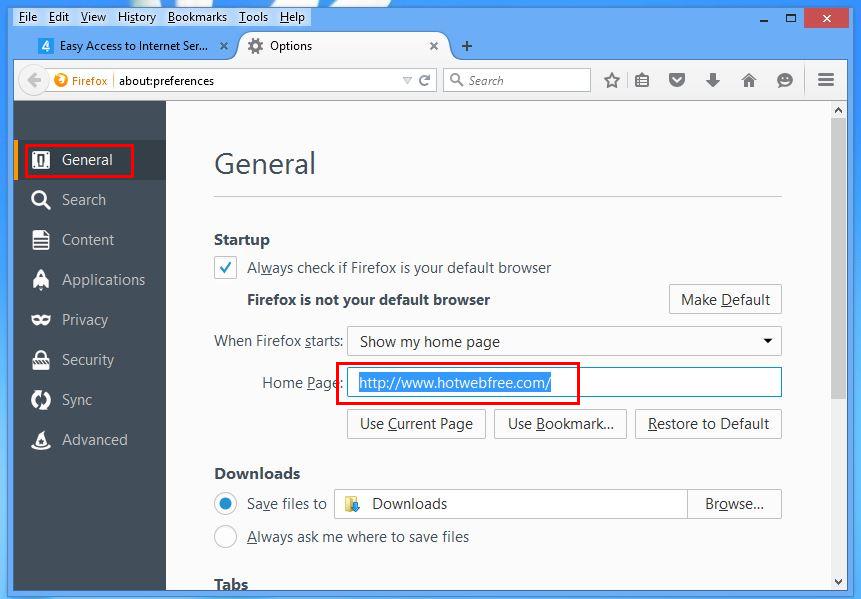
Step 2. In this window If your homepage is set as Need2Find.net then remove it and press OK.
Step 3. Now you should select “Restore To Default” option to make your Firefox homepage as default. After that click on OK button.
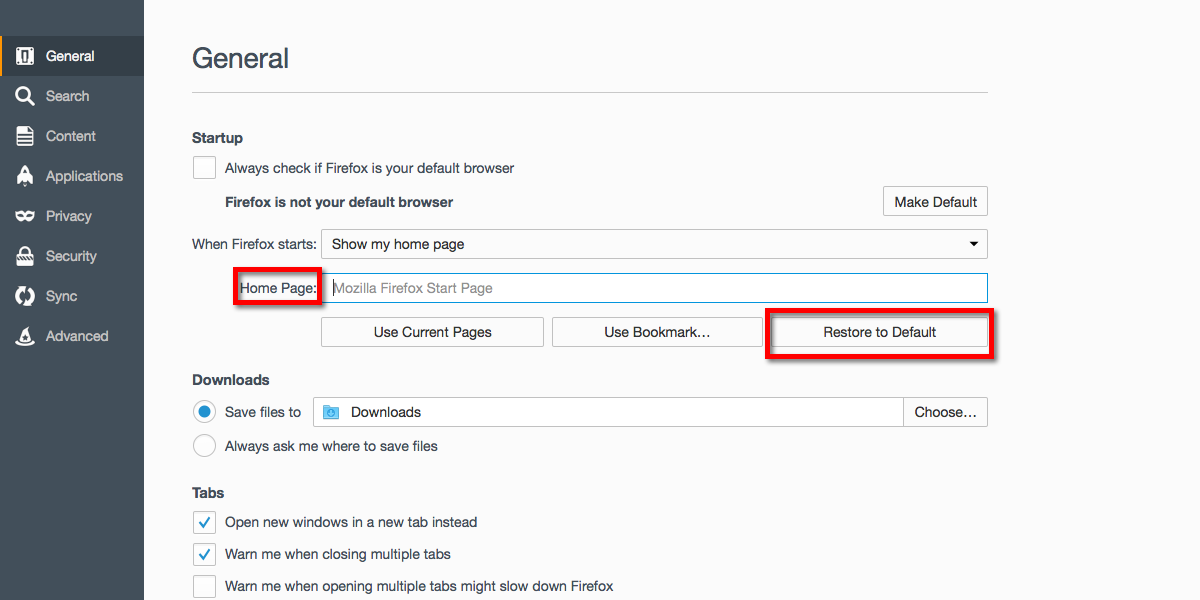
Step 4. In the next window you have again press OK button.
Experts Recommendation:- Security analyst suggest to clear browsing history after doing such activity on the browser and for that steps are given below, have a look:-
Step 1. From the Main Menu you have to choose “History” option at the place of “Options” that you have picked earlier.

Step 2. Now Click Clear Recent History option from this window.

Step 3. Here you should select “Everything” from Time range to clear option.

Step 4. Now you can tick all check boxes and press Clear Now button to get this task completed. Finally restart the PC.
Remove Need2Find.net From Google Chrome Conveniently
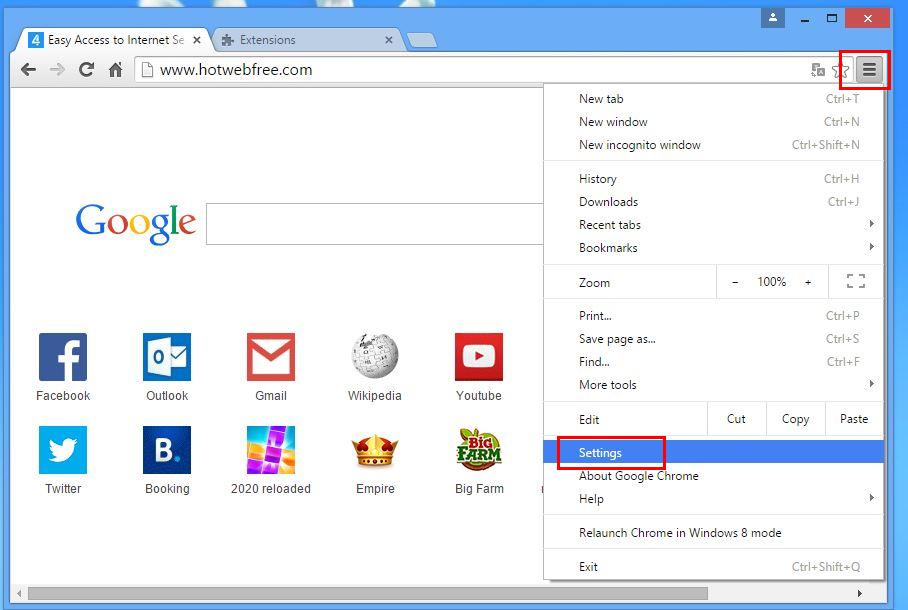
Step 1. Launch the Google Chrome browser and pick Menu option and then Settings from the top right corner on the browser.
Step 2. From the On Startup section, you need to pick Set Pages option.
Step 3. Here if you find Need2Find.net as a startup page then remove it by pressing cross (X) button and then click on OK.
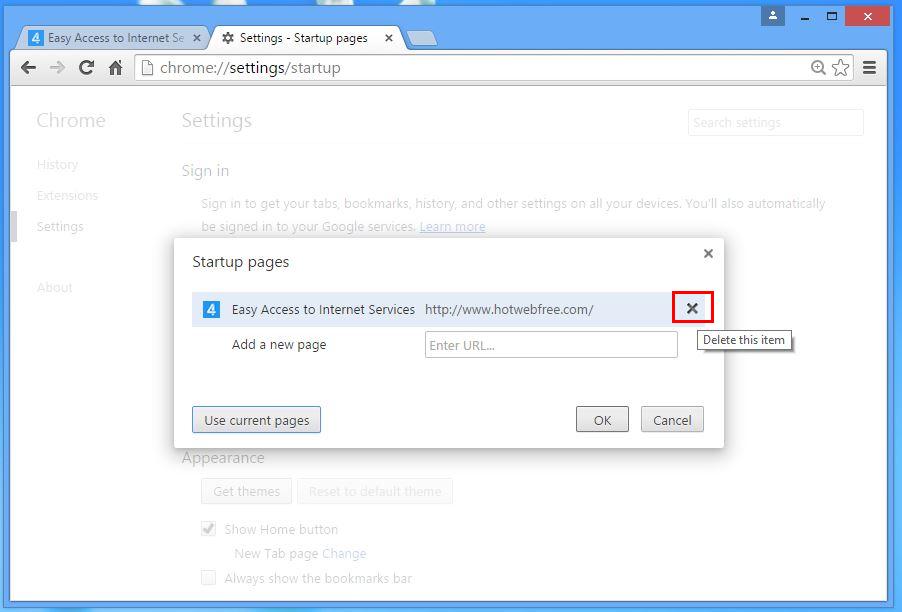
Step 4. Now you need to choose Change option in the Appearance section and again do the same thing as done in previous step.

Know How To Clean History on Google Chrome
Step 1. After clicking on Setting option from the Menu, you will see History option in the left panel of the screen.

Step 2. Now you should press Clear Browsing Data and also select time as a “beginning of time“. Here you also need to choose options that want to get.

Step 3. Finally hit the Clear Browsing data.
Solution To Remove Unknown ToolBar From Browsers
If you want to delete unknown toolbar created by Need2Find.net then you should go through the below given steps that can make your task easier.
For Chrome:-
Go to Menu option >> Tools >> Extensions >> Now choose the unwanted toolbar and click Trashcan Icon and then restart the browser.

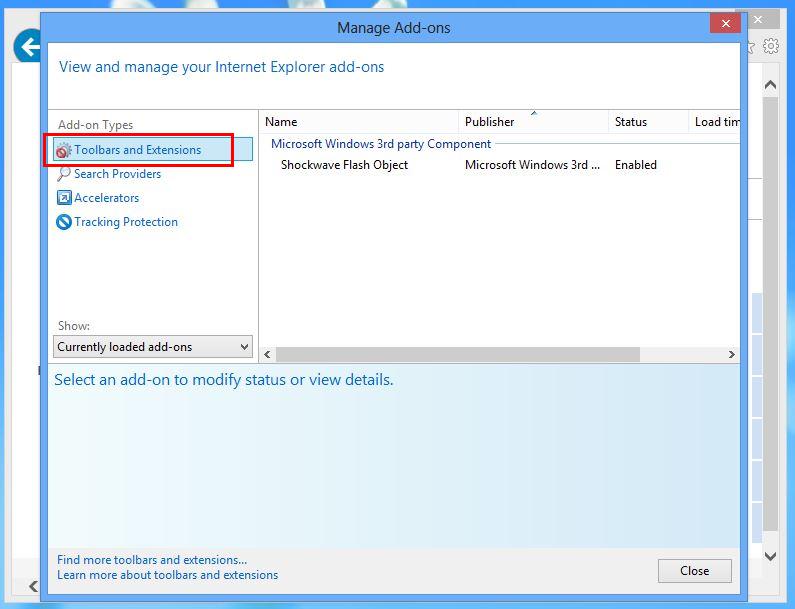
For Internet Explorer:-
Get the Gear icon >> Manage add-ons >> “Toolbars and Extensions” from left menu >> now select required toolbar and hot Disable button.
Mozilla Firefox:-
Find the Menu button at top right corner >> Add-ons >> “Extensions” >> here you need to find unwanted toolbar and click Remove button to delete it.

Safari:-
Open Safari browser and select Menu >> Preferences >> “Extensions” >> now choose toolbar to remove and finally press Uninstall Button. At last restart the browser to make change in effect.


Still if you are having trouble in resolving issues regarding your malware and don’t know how to fix it, then you can submit your questions to us and we will feel happy to resolve your issues.

Related Posts
 ExecutiveOperation Search Removal: Best Way To Remove ExecutiveOperation Search In Simple Clicks
- Best Way To Get Rid Of IMovieSearch Search
- Delete MixedFin from Internet Explorer : Clear Away MixedFin
- Deleting Search-fine.com Manually
- Delete Search.basicgeneration.com from Opera
- Removing Spacerin Search Easily