Muvflix.com: Essential Information

Muvflix.com is an ad-supported website that promotes Muvflix entertainment service which is identical to legitimate entertaining services such as Hulu, Netflix, Sportify, ESPN and Amazon prime. During online research we came across to various social media sites and forums where users were asking about the legitimacy of Muvflix.com portal. Interestingly, a network search portal unveiled that Muvflix service has a number of clones presently active as flixsport.co and vodplus.co which displays the material as you might see on lilplay.com. Further investigation revealed that there are thousand of unsatisfied users of this portal who have already canceled the creepy subscription but still they haven't got any refund.
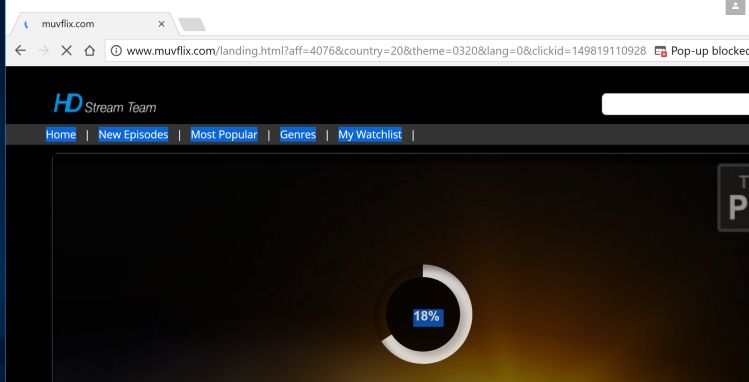
Furthermore, we have to mention that Muvflix.com is active since April 2017, currently being hosted on 35.162.128.233 from Oregon, Portland. While reading its Terms of Use policy page, we saw that it doesn't offer refunds to the subscribers. More importantly, just like other fraud companies, you will not find details like company name, address or owners information anywhere on Muvflix.com. All you can do is to write an email to [email protected] and falsely hope to receive reply. Even more, if you call on 18-555-774-325 (custom support phone line), you will get no response. Speaking of more suspicious thing, its sign up page has a certificate given by Amazon but the certificate doesn't include organization name or owners details. Though, we suggest you to avoid filling up verification form on this portal by entering your full name, card numbers along with security code and expiration data. These information can be handed over to interested third parties like ads publishers, con artists or online marketers without your consent. Unfortunately, Muvflix.com is totally focused on generating revenue without taking care of its subscribers comfort.
How Does Muvflix.com Spread?
We have seen browser extensions and toolbars associated with Muvflix.com are being spread bundled up with free programs like Media players, PDF converters, Movie maker, Video editors, Sound Mixer and others programs that are essential for daily life. If you download such apps from untrusted portals. Nowadays, free file hosting sites are being used to promote ad-supported applications in order to generate affiliate commission. First, they bundle up adware/browser hijacker with free software and make use of Dark pattern to make sure that you don't click Custom or Advanced option and proceed installation.
However, when you click Custom or Advanced installation option, you just see checked boxes allowing ad-serving apps to invade your computer without your consent. Though, you need to deselect them before proceeding installation. Also, you must keep reliable security software installed onto your computer to avoid such attacks in future. As of now, you need to follow Muvflix.com removal guide:
>>Free Download Muvflix.com Scanner<<

Know How to Uninstall Muvflix.com Manually From Windows PC
In order to do it, it is advised that, start your PC in safe mode by just following the steps:-
Step 1. Restart your computer and Press F8 button until you get the next window.

Step 2. After that on the new screen you should select Safe Mode option to continue this process.

Now Show Hidden Files As Follows :
Step 1. Go to Start Menu >> Control Panel >> Folder Option.

Step 2. Now Press View Tab >> Advance Setting category >> Hidden Files or Folders.

Step 3. Here you need to tick in Show hidden files, folder or drives.
Step 4. Finally hit Apply and then OK button and at the end close the current Window.
Time To Delete Muvflix.com From Different Web browsers
For Google Chrome
Steps 1. Start Google Chrome and hot Menu icon at the top right corner of the screen and then select Settings option.

Step 2. Here you need to select required search provider in Search option.

Step 3. You can also manage search engine and make it your personalize setting by clicking on Make it default button.

Reset Google Chrome Now in given way:-
Step 1. Get Menu Icon >> Settings >> Reset settings >> Reset

For Mozilla Firefox:-
Step 1. Start Mozilla Firefox >> Setting icon >> Options.

Step 2. Press Search option and pick required search provider to make it default and also remove Muvflix.com from here.

Step 3. You can also add other search option on your Mozilla Firefox.
Reset Mozilla Firefox
Step 1. Choose Settings >> Open Help Menu >> Troubleshooting >> Reset Firefox

Step 2. Again click Reset Firefox to eliminate Muvflix.com in easy clicks.

For Internet Explorer
If you want to remove Muvflix.com from Internet Explorer then please follow these steps.
Step 1. Start your IE browser and select Gear icon >> Manage Add-ons.

Step 2. Choose Search provider >> Find More Search Providers.

Step 3. Here you can select your preferred search engine.

Step 4. Now Press Add to Internet Explorer option >> Check out Make this my Default Search Engine Provider From Add Search Provider Window and then click Add option.

Step 5. Finally relaunch the browser to apply all modification.
Reset Internet Explorer
Step 1. Click on Gear Icon >> Internet Options >> Advance Tab >> Reset >> Tick Delete Personal Settings >> then press Reset to remove Muvflix.com completely.

Clear browsing History and Delete All Cookies
Step 1. Start with the Internet Options >> General Tab >> Browsing History >> Select delete >> Check Website Data and Cookies and then finally Click Delete.

Know How To Fix DNS Settings
Step 1. Navigate to the bottom right corner of your desktop and right click on Network icon, further tap on Open Network and Sharing Center.

Step 2. In the View your active networks section, you have to choose Local Area Connection.

Step 3. Click Properties at the bottom of Local Area Connection Status window.

Step 4. Next you have to choose Internet Protocol Version 4 (TCP/IP V4) and then tap on Properties below.

Step 5. Finally enable the Obtain DNS server address automatically option and tap on OK button apply changes.


Well if you are still facing issues in removal of malware threats then you can feel free to ask questions. We will feel obliged to help you.

Related Posts
 ExecutiveOperation Search Removal: Best Way To Remove ExecutiveOperation Search In Simple Clicks
- Best Way To Get Rid Of IMovieSearch Search
- Delete MixedFin from Internet Explorer : Clear Away MixedFin
- Deleting Search-fine.com Manually
- Delete Search.basicgeneration.com from Opera
- Removing Spacerin Search Easily