
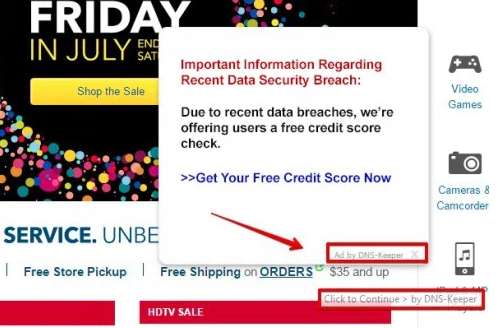
Ads by DNS-Keeper is detected as an adware program which consequently display bundle of irritating pop-ups and fake alert onto desktop. Such activities is highly annoying and highly mistreat browsing work of computer user. Like Ads by DNS-Keeper sharply modify crucial setting of system and browser including registries entries, DNS, default homepage, background setting and aquire complete access over computer.
As a result of all of such change, Ads by DNS-Keeper make complete control over computer. It will attract number of vicious program from surrounding including Key loggers, redirect virus, adware, Trojan and so many other. All of such infection make the performance of computer very poor. It start running with dramatically poor speed. Browser get unresponsive within a frequent interval.
Ads by DNS-Keeper also violate personal information of computer by tracking keytoke of user. Such activities lead to hacking of vital information such as bank account information, email credentials, case sensitive password and lead to hacking of PC. As it is downloaded inside computer without taking permission of system owner it is very difficult to track it. Even Antivirus program also fais to detect it due to its clever and smart algorithm. Hence be careful and once you assure the presence of such harmful program inside computer take some feasible measures to delete Ads by DNS-Keeper because the longer it remain inside, the more it possess damage over computer.

Click to Free Scan for Ads by DNS-Keeper on PC
Learn To Remove Ads by DNS-Keeper Using Manual Methods
Phase 1 : Show Hidden Files To Delete Ads by DNS-Keeper Related Files And Folders
1. For Windows 8 or 10 Users : From the Ribbon’s View in My PC click on Options icon.

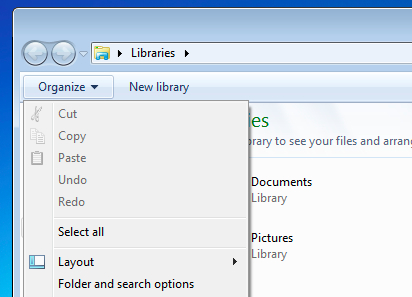
2. For Windows 7 or Vista Users : Open My Computer and tap on Organize button on the upper left corner and then to Folder and Search Options from the drop down menu.
3. Now go to the View tab and enable Show hidden files and folder options and then uncheck the Hide protected system operating files checkbox option below.
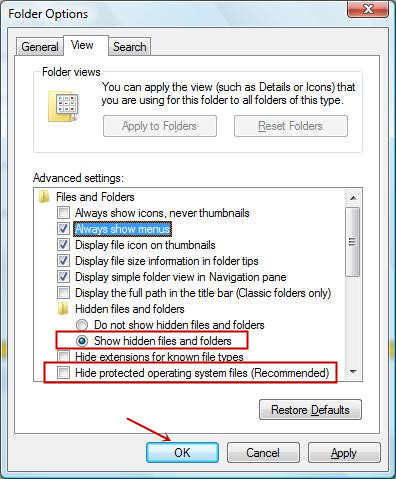
4. Finally look for any suspicious files in the hidden folders as given below and delete it.
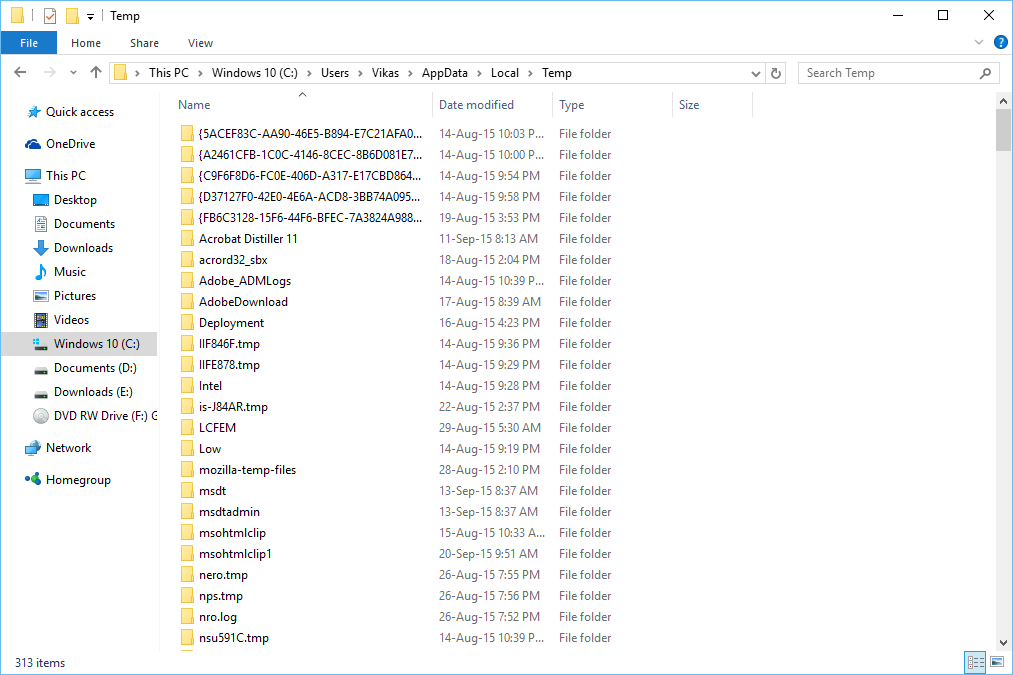
- %AppData%\[adware_name]
- %Temp%\[adware_name]
- %LocalAppData%\[adware_name].exe
- %AllUsersProfile%random.exe
- %CommonAppData%\[adware_name]
Phase 2 : Get Rid of Ads by DNS-Keeper Related Extensions Related From Different Web Browsers
From Chrome :
1. Click on Menu icon, hover through More Tools then tap on Extensions.

2. Now click on Trash icon on the extensions tab there next to suspicious extensions to remove it.

From Internet Explorer :
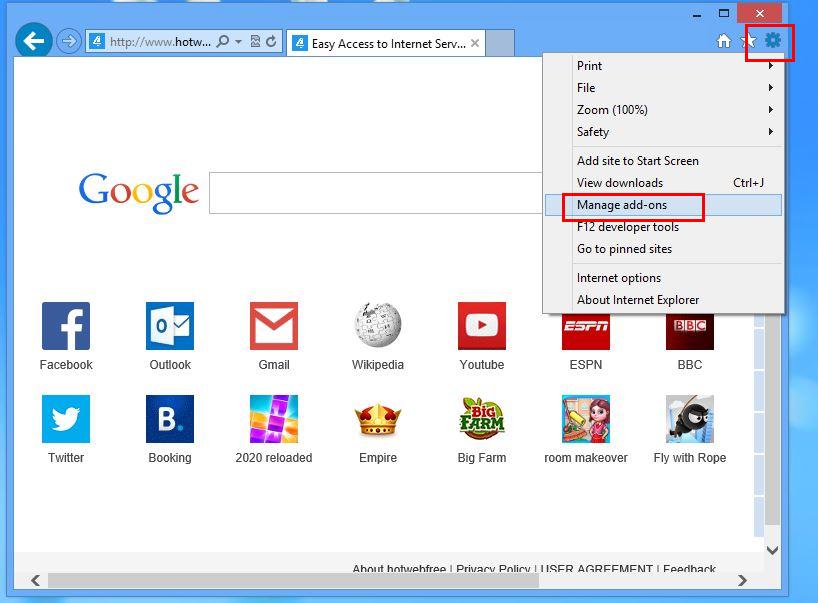
1. Click on Manage add-ons option from the drop down menu on going through Gear icon.
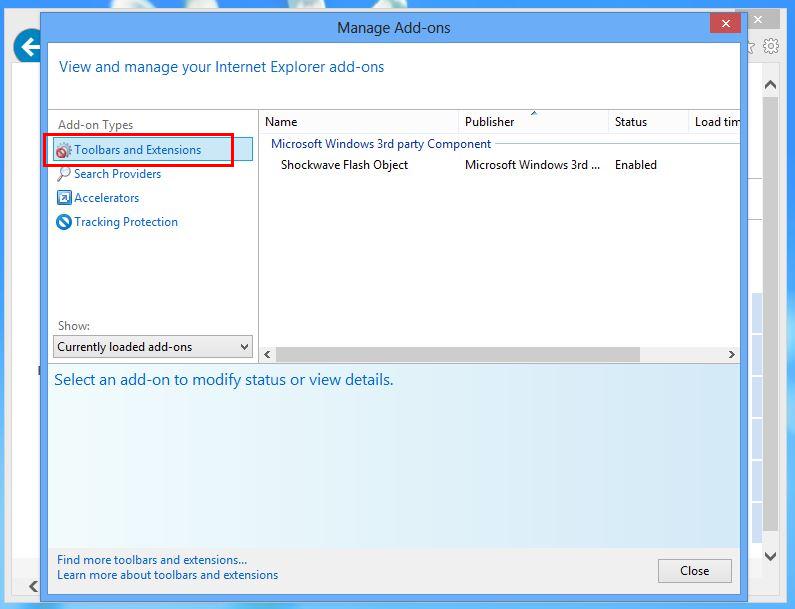
2. Now if you find any suspicious extension in the Toolbars and Extensions panel then right click on it and Delete option to remove it.
From Mozilla Firefox :
1. Tap on Add-ons on going through Menu icon.

2. In the Extensions tab click on Disable or Remove button next to Ads by DNS-Keeper related extensions to remove them.

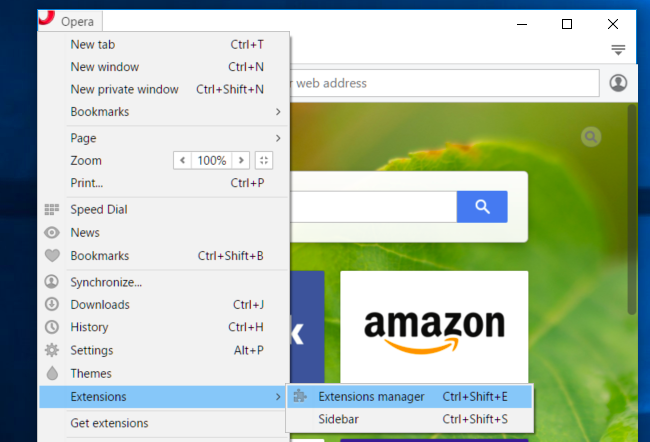
From Opera :
1. Press Opera menu, hover to Extensions and then select Extensions manager there.
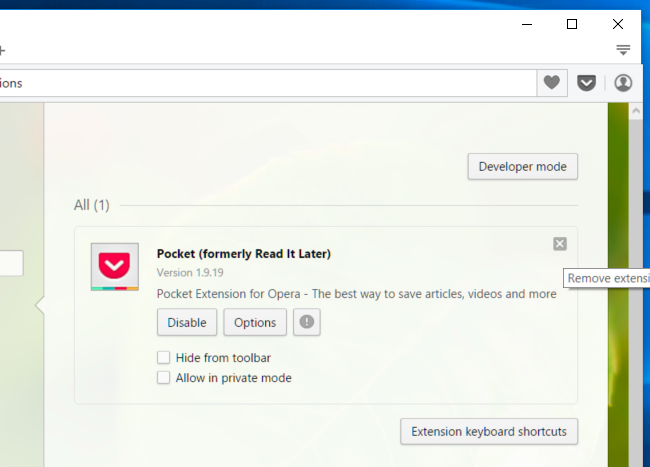
2. Now if any browser extension looks suspicious to you then click on (X) button to remove it.
From Safari :
1. Click Preferences… on going through Settings Gear icon.
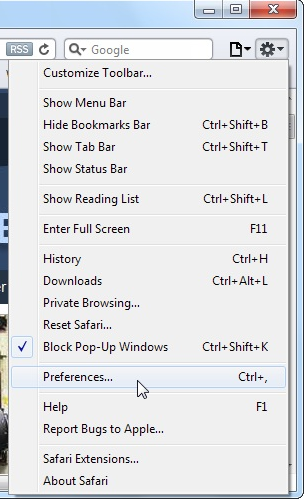
2. Now on Extensions tab click on Uninstall button to remove it.

From Microsoft Edge :
Note:–As there is no option for Extension Manager in Microsoft Edge so in order to sort out issues related with adware programs in MS Edge you can change its default homepage and search engine.
Change Default Homepage of Ms Edge –
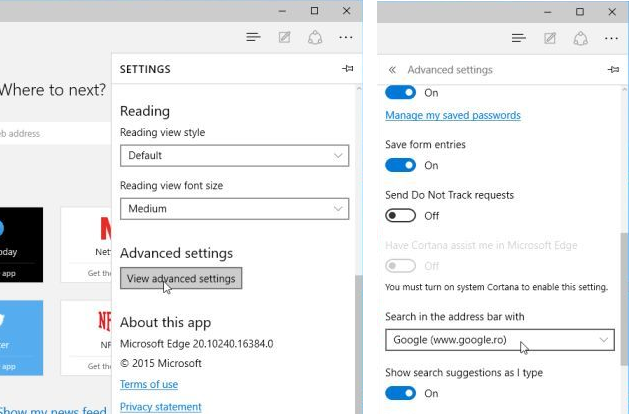
1. Click on More(…) followed by Settings and then to Start page under Open With section.

2. Now select View advanced settings button and then in Search in the address bar with section, you can select Google or any other homepage as your preference.
Change Default Search Engine Settings of Ms Edge –
1. Select More(…) then Settings followed by View advanced settings button.
2. Under Search in the address bar with box click on <Add new>. Now you can choose from the available list of search providers or add you preferred search engine and click Add as default.

Phase 3 : Block Unwanted Pop-ups from Ads by DNS-Keeper On Different Web Browsers
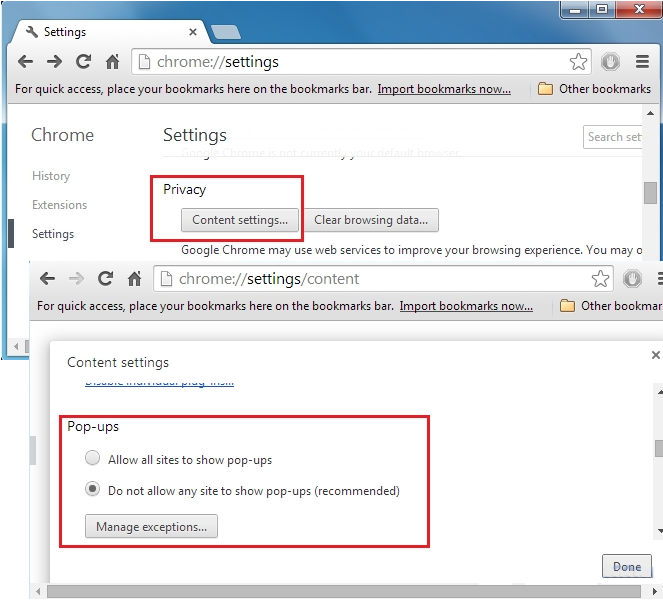
1. Google Chrome : Click Menu icon → Settings → Show advanced settings… → Content Settings… under Privacy section → enable Do not allow any site to show pop-ups (recommended) option → Done.
2. Mozilla Firefox : Tap on Menu icon → Options → Content panel → check Block pop-up windows in Pop-ups section.

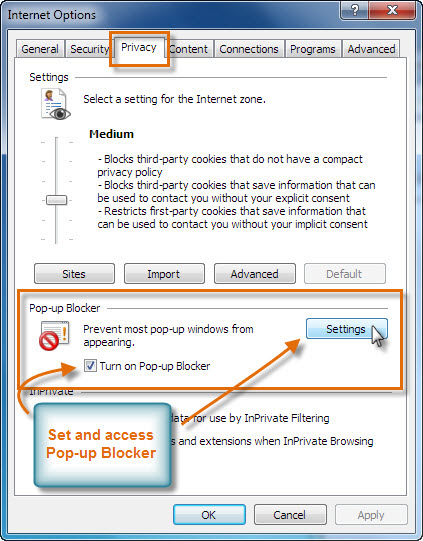
3. Internet Explorer : Click Gear Settings icon → Internet Options → in Privacy tab enable Turn on Pop-up Blocker under Pop-up Blocker Section.
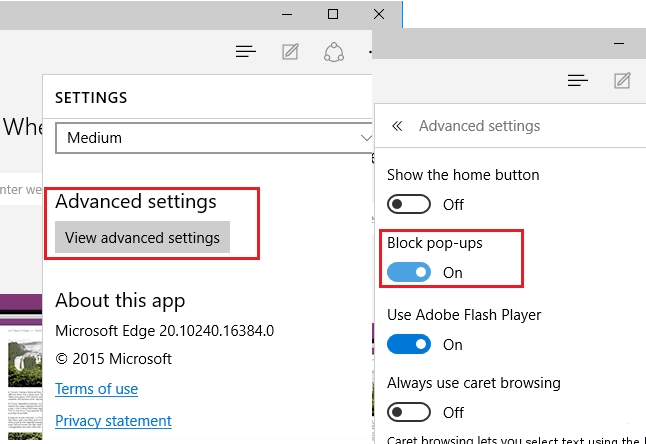
4. Microsoft Edge : Press More(…) option → Settings → View advanced settings → toggle on Block pop-ups.

Still having troubles in removing Ads by DNS-Keeper from your compromised PC ? Then you don’t need to worry. You can feel free to ask questions to us about malware related issues.

