

What do you know about RDN/DNSChanger!g!D91863362239?
RDN/DNSChanger!g!D91863362239 is a very noxious Trojan horse virus and it is able to attach itself to the normal system program so that no antivirus software can detect and remove it. Besides, even though the users notice it, they will tend to give this threat permission to stay on their machine. So, RDN/DNSChanger!g!D91863362239 could hide itself very well onto the users computer and if users do not check it on purpose, they will not know it is on the system even it has almost destroy their PC. Then, why does this trojan afraid to be found by the users? This is because it is a fairly nasty virus, and it will soon infect the entire computer.
If you carefully observe your PC, then you will find that your machine slip into the dead zone step by step due to the presence of RDN/DNSChanger!g!D91863362239 virus. And when you try operate your computer, all the installed system program and applications are a bit on the slow side. After a period of time, blue screen of death is coming. With it happened frequently, you will have freaked out and must be impatient on what RDN/DNSChanger!g!D91863362239 malware is doing on your system. However, we recommend you to think more and more before you decide to give up your machine.
Moreover, RDN/DNSChanger!g!D91863362239 infection will let other malware to intrude onto your PC, and then blocks the protection measures of your machine. Therefore, your computer will act very slow then. Meanwhile, it will finally crash down the whole PC. To solve this issue, you could safely and quickly remove RDN/DNSChanger!g!D91863362239 virus right now from your system. Then after you can clear up your machine and you could then resolve all the issues with the normal applications or programs by checking the instructions given below.
Hazardous Symptoms of RDN/DNSChanger!g!D91863362239
- Degrades the PC performance and make it vulnerable.
- Block your active and processing system programs.
- Drain all your saved confidential data for illegal activities.
- Make your computer system non responsive.
- Add corrupt registry in the Windows registry editor.

Steps to Delete RDN/DNSChanger!g!D91863362239
Step: 1 Restart your Windows PC in Safe Mode
Find the complete details on how to Reboot your PC in Safe Mode (if you are a novice, follow the above given instructions on how to boot up your PC in Safe mode irrespective of the Windows Version that is being used as Windows XP, 7, Win 8, 8.1 and Windows 10)
Step:2 Remove RDN/DNSChanger!g!D91863362239 from Task Manager
Press CTRL+ALT+DEL simulataneously to open Task manager. Find RDN/DNSChanger!g!D91863362239 Related processes or any other suspicious processes that are running on it. Now Select and delete RDN/DNSChanger!g!D91863362239 virus from Task Manager at once.

Step:3 How to Delete RDN/DNSChanger!g!D91863362239 Related Startup Items
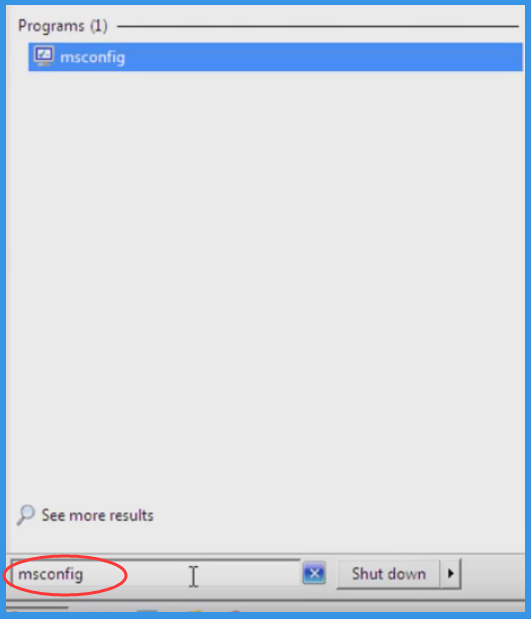
Press Win + R together and Type “msconfig”.

Now press Enter Key or Select OK.
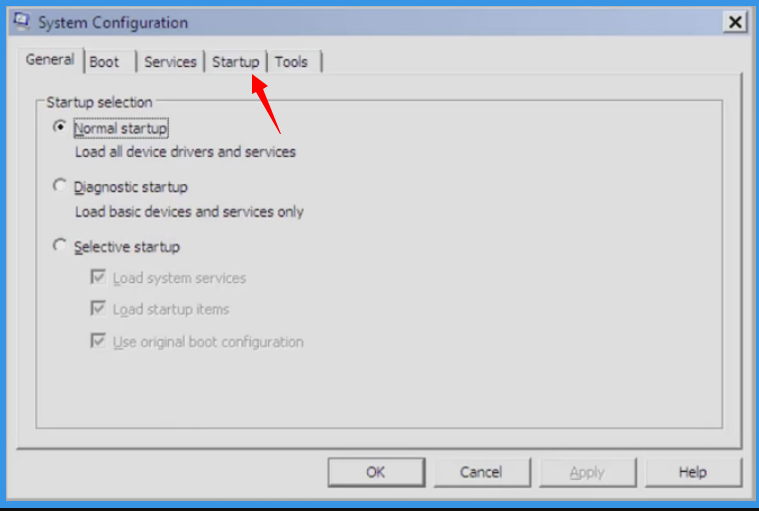
“Startup” option is to be selected on the Pop-up Window Tab
Now Search for RDN/DNSChanger!g!D91863362239 Related applications on Startup Items
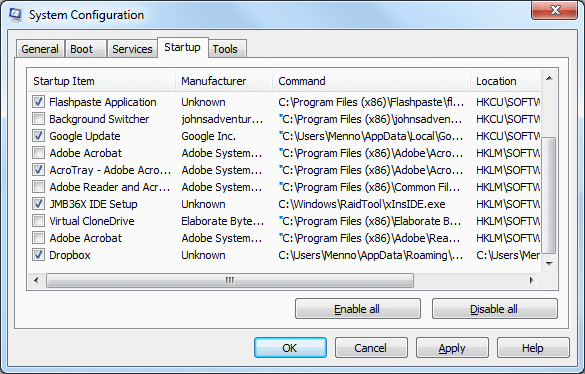
Now Uncheck all Unknown or Suspicious items from “System Configuration” related to RDN/DNSChanger!g!D91863362239

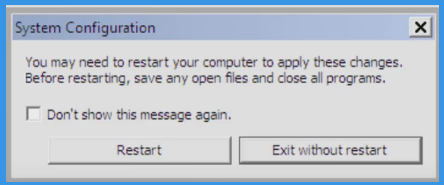
Now Click and Select Restart to Start your Computer in Normal Mode
Step: 4 How to Delete RDN/DNSChanger!g!D91863362239 from Windows Registry
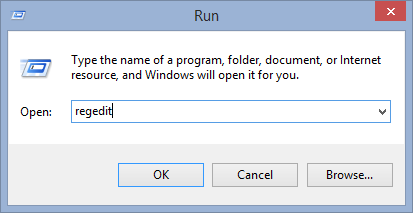
- Press Win + R in combination to Open Run Box, Type regedit on the search box and press enter.
- This will Open the registry entries.
- Find RDN/DNSChanger!g!D91863362239 related entries from the list and carefully delete it. However be careful and do not delete any other entries as this could severely damage the Windows Component.
Also, after completing the above steps, it is important to search for any folders and files that has been created by RDN/DNSChanger!g!D91863362239 and if found must be deleted.
Step 5 How to View Hidden Files and Folders Created by RDN/DNSChanger!g!D91863362239
- Click on the Start Menu
- Go to Control Panel, and Search for folder Options
- Click on view hidden files and folders Options, For your convenience, we have included complete process on how to unhide files on all Windows Version. This will delete all the files and folders associated with RDN/DNSChanger!g!D91863362239 that was existing on your compromised system.
Still, if you are unable to get rid of RDN/DNSChanger!g!D91863362239 using manual steps, you need to scan your PC to detect RDN/DNSChanger!g!D91863362239.

Don’t forget to submit your questions or any other queries if you have and get complete solution from our Expert’s Panel. Good Luck!

Related Posts
 Remove PyXie Trojan from Windows 10 : Take Down PyXie Trojan
- Killua Backdoor Uninstallation: Tutorial To Delete Killua Backdoor In Just Few Steps
- Remove Gon Malware from Windows 7
- EYE Malware Removal: Help To Remove EYE Malware Completely
- Delete CSPY Downloader Manually
- Possible Steps For Deleting Win32/Bundpil from Windows 10