Important Facts About Search.searchutilities.co

Search.searchutilities.co is a misleading search tool which seeks to earn money by redirecting system users to sponsored domains or filling their searches with unwanted ads. If you were convinced that these adverts are worth your attention, then RMV security experts should warn you that that our researchers have never heard of the user who managed to save their money with the help of this search engine. First of all, you must be aware about the fact that it belongs to the company known as Polarity Technologies Ltd. The developer company of Search.searchutilities.co has already become famous for presenting different browser hijackers almost every day. Although, once it is installed, it gets permissions that considered quite suspicious. These permissions include changing and reading data on user's visited sites, manage installed themes, extensions and apps, and alter default browser's settings.
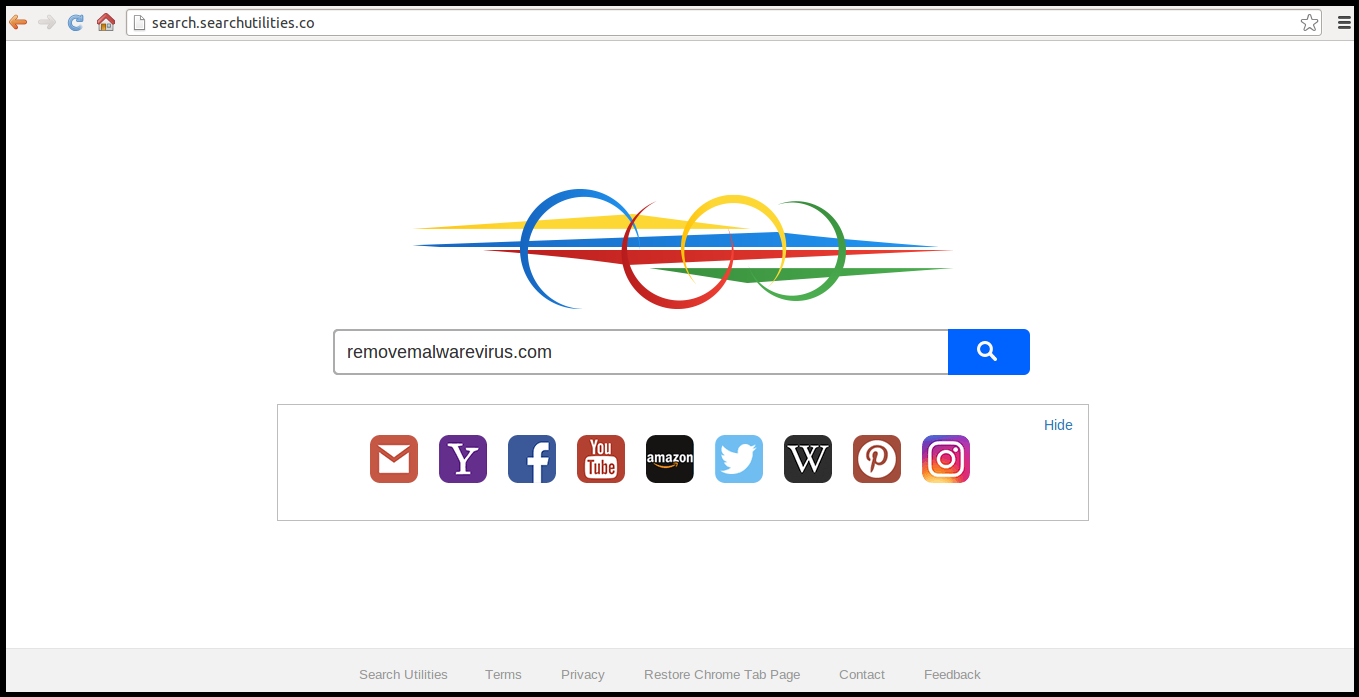
All these properties are also used to cause the main issue related to this hijacker i.e. unwanted redirects to page full of customized SaferBrowser or Yahoo search results. However, if you see the name 'SaferBrowser' in a new tab window, then quit it immediately. This name is associated with family of other browser hijackers which uses customized search results in order to point victims to untrustworthy domains. In order to avoid them, you should think of possible Search.searchutilities.co removal solutions. There are two main methods – manual and automatic ones. Besides, you should think twice before adding this search engine as a default search provider even if the title of this portal creates an image that it is associated with a legit search tool. Otherwise, you can be rerouted to an entirely different URL address.
How To Perform Search.searchutilities.co Removal?
Such URL redirect can be done to drive traffic to predetermined web pages that focus on revenue making than providing any kind of beneficial services. Thus, it is the main reason why RMV security analysts do not recommend computer users to interact with its displayed search results. According to the Search.searchutilities.co developers' company i.e. 'Polarity Technologies Ltd', computer users are using this search provider at their own risk and the company provides no guarantee that the content provided by them is safe. Therefore, it gives an clear idea that it is possible to encounter malicious content on sites advertised via this hijacker. So, there is no doubt that you must be careful if you decide to continue using this shady search engine. Most important, you can perform its removal by following the guidelines provided below.
>>Free Download Search.searchutilities.co Scanner<<

Know How to Uninstall Search.searchutilities.co Manually From Windows PC
In order to do it, it is advised that, start your PC in safe mode by just following the steps:-
Step 1. Restart your computer and Press F8 button until you get the next window.

Step 2. After that on the new screen you should select Safe Mode option to continue this process.

Now Show Hidden Files As Follows :
Step 1. Go to Start Menu >> Control Panel >> Folder Option.

Step 2. Now Press View Tab >> Advance Setting category >> Hidden Files or Folders.

Step 3. Here you need to tick in Show hidden files, folder or drives.
Step 4. Finally hit Apply and then OK button and at the end close the current Window.
Time To Delete Search.searchutilities.co From Different Web browsers
For Google Chrome
Steps 1. Start Google Chrome and hot Menu icon at the top right corner of the screen and then select Settings option.

Step 2. Here you need to select required search provider in Search option.

Step 3. You can also manage search engine and make it your personalize setting by clicking on Make it default button.

Reset Google Chrome Now in given way:-
Step 1. Get Menu Icon >> Settings >> Reset settings >> Reset

For Mozilla Firefox:-
Step 1. Start Mozilla Firefox >> Setting icon >> Options.

Step 2. Press Search option and pick required search provider to make it default and also remove Search.searchutilities.co from here.

Step 3. You can also add other search option on your Mozilla Firefox.
Reset Mozilla Firefox
Step 1. Choose Settings >> Open Help Menu >> Troubleshooting >> Reset Firefox

Step 2. Again click Reset Firefox to eliminate Search.searchutilities.co in easy clicks.

For Internet Explorer
If you want to remove Search.searchutilities.co from Internet Explorer then please follow these steps.
Step 1. Start your IE browser and select Gear icon >> Manage Add-ons.

Step 2. Choose Search provider >> Find More Search Providers.

Step 3. Here you can select your preferred search engine.

Step 4. Now Press Add to Internet Explorer option >> Check out Make this my Default Search Engine Provider From Add Search Provider Window and then click Add option.

Step 5. Finally relaunch the browser to apply all modification.
Reset Internet Explorer
Step 1. Click on Gear Icon >> Internet Options >> Advance Tab >> Reset >> Tick Delete Personal Settings >> then press Reset to remove Search.searchutilities.co completely.

Clear browsing History and Delete All Cookies
Step 1. Start with the Internet Options >> General Tab >> Browsing History >> Select delete >> Check Website Data and Cookies and then finally Click Delete.

Know How To Fix DNS Settings
Step 1. Navigate to the bottom right corner of your desktop and right click on Network icon, further tap on Open Network and Sharing Center.

Step 2. In the View your active networks section, you have to choose Local Area Connection.

Step 3. Click Properties at the bottom of Local Area Connection Status window.

Step 4. Next you have to choose Internet Protocol Version 4 (TCP/IP V4) and then tap on Properties below.

Step 5. Finally enable the Obtain DNS server address automatically option and tap on OK button apply changes.


Well if you are still facing issues in removal of malware threats then you can feel free to ask questions. We will feel obliged to help you.

Related Posts
 ExecutiveOperation Search Removal: Best Way To Remove ExecutiveOperation Search In Simple Clicks
- Best Way To Get Rid Of IMovieSearch Search
- Delete MixedFin from Internet Explorer : Clear Away MixedFin
- Deleting Search-fine.com Manually
- Delete Search.basicgeneration.com from Opera
- Removing Spacerin Search Easily