Can Searches.cloud affecting your installed web browser Google Chrome, Mozilla Firefox, Internet Explorer? Does Searches.cloud spam you with advertisements and ads? Know in this post about how to remove Searches.cloud? Is Searches.cloud a redirect virus? Searches.cloud is a browser hijacker or redirect virus. In the post of Searches.cloud you will get all these above stated questions answer along with manual solution to remove Searches.cloud from the infected web browser. Carefully read the post and resolve the problem of your infected web browser. Thanks!!

Searches.cloud is deemed as another very risky and dangerous browser infection which has been classified to the family of browser hijacker. It is created with the key intention to hijacks and takes complete control over the users installed web browsers. As being a browser virus it result to modify the default settings for all of your commonly used browsers that is Internet Explorer, Google Chrome, Mozilla Firefox, Opera, Safari, Microsoft Edge and so on. The Searches.cloud is further noted as an address of a fake search engine program too which is mainly promoted through a potentially unwanted application (PUA). It also disables the security program of the installed web browsers. The Searches.cloud easily sneaks within the targeted system by the surfing of the malicious domain, web pages, through the download of freeware application, by the distribution of spam and fake email which basically comes from unknown source and destination.

Thus, without having any concern of the victim the Searches.cloud is capable to installs extra toolbar, add-ons, extensions, plugin etc on to their web browsers. The Searches.cloud is being distributed within the user system through a deceptive and commonly used installer known as Adobe Flash Player installer. Apart from all such lots of unwanted programs by default get downloaded and installed within the user’s computer. Its malicious effect can infect and cause harm to all version of the Window and Mac based operating system. As you may also fail to open the save files as it seem to be lost or move from its original destination. In the meanwhile the Searches.cloud also has the feature for collecting and recording all the relevant data and information of the targeted users. However, such nasty browser threats are created only to earn revenue from it. Moreover, the performance of the machine also slows down comparatively. So to have a hassle free surfing on your web browser you should immediate remove Searches.cloud from it.
>>Free Download Searches.cloud Scanner<<

Manual Steps to Remove Searches.cloud From Your Hijacked Browser
Simple Steps To Remove Infection From Your Browser |
Set Up or Changes Your Default Search Engine Provider
For Internet Explorer :
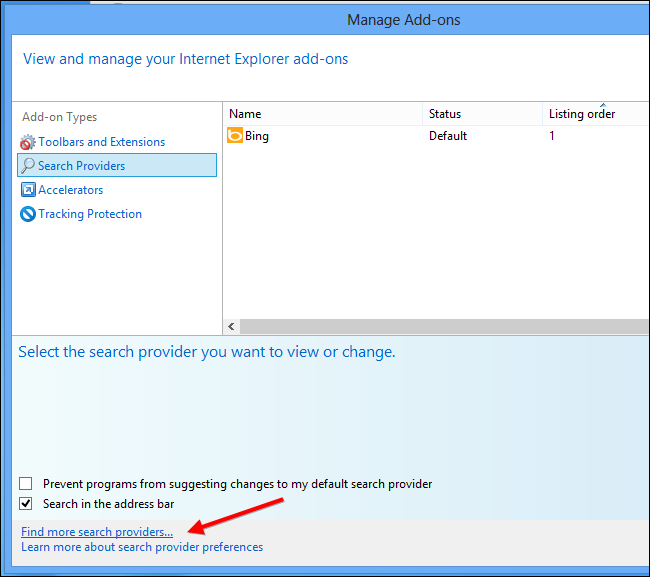
1. Launch Internet explorer and click on the Gear icon then to Manage Add-ons.

2. Now click on Search Provider tab followed by Find more search providers…
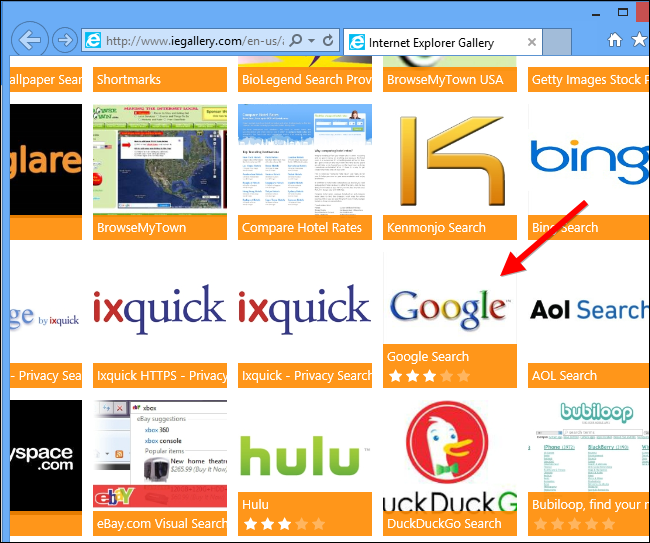
3. Now look for your preferred search engine provider for instance Google Search engine.
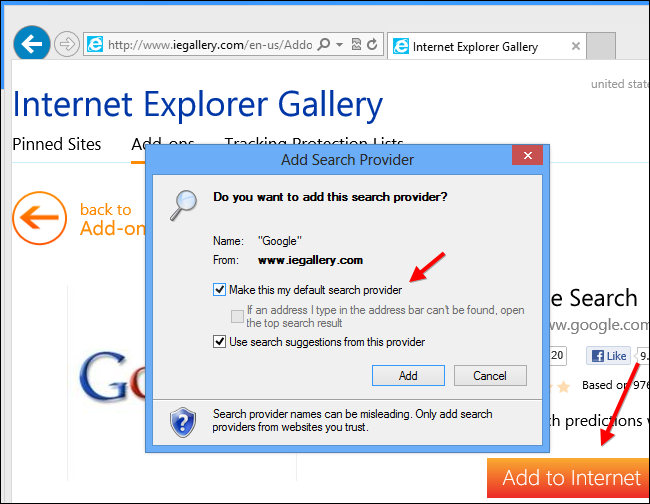
4. Further you need to click on Add to Internet Explorer option appeared on the page. After then tick out the Make this my default search engine provider appeared on the Add Search Provider window and then click on Add button.
5. Restart Internet explorer to apply the new changes.
For Mozilla :
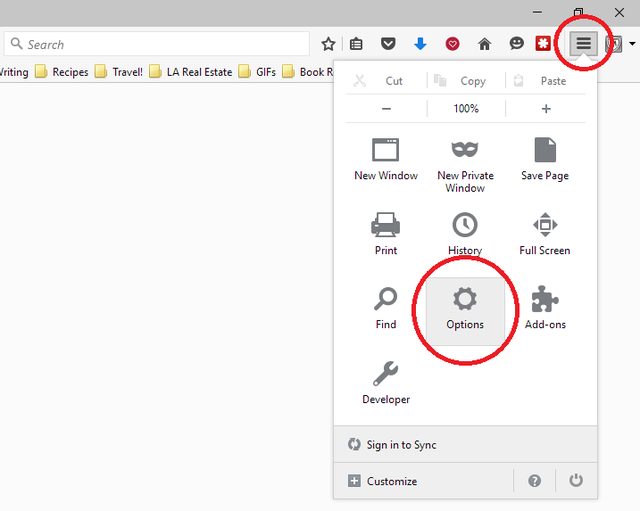
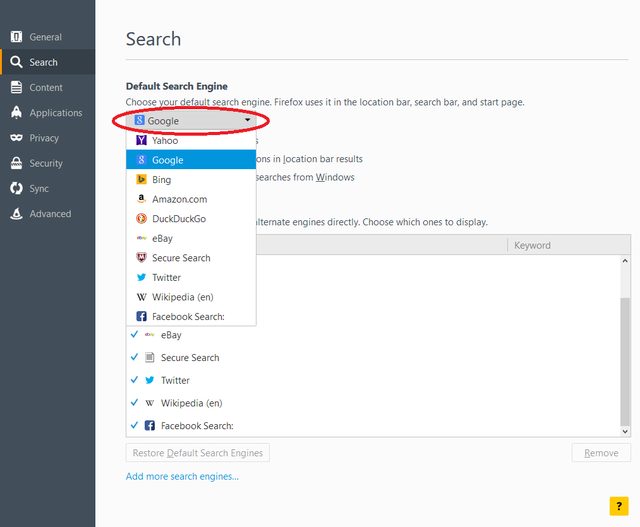
1. Launch Mozilla Firefox and go for the Settings icon (☰) followed by Options from the drop down menu.
2. Now you have to tap on Search tab there. And, under Default Search Engine you can choose your desirable search engine provider from the drop down menu and remove Searches.cloud related search providers.
3. If you want to add another search option into Mozilla Firefox then you can do it by going through Add more search engines… option. It will take you to the Firefox official Add-ons page from where you can choose and install search engine add-ons from their.
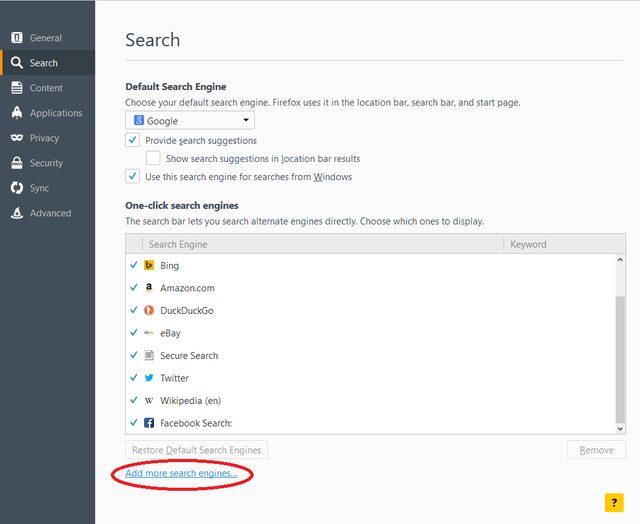
4. Once installed you can go back to Search tab and choose your favorite search provider as a default.
For Chrome :
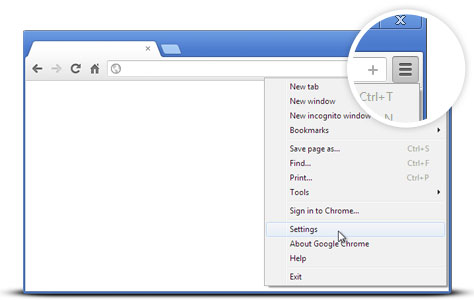
1. Open Chrome and tap on Menu icon (☰) followed by Settings.
2. Now under Search option you can choose desirable Search engine providers from drop down menu.
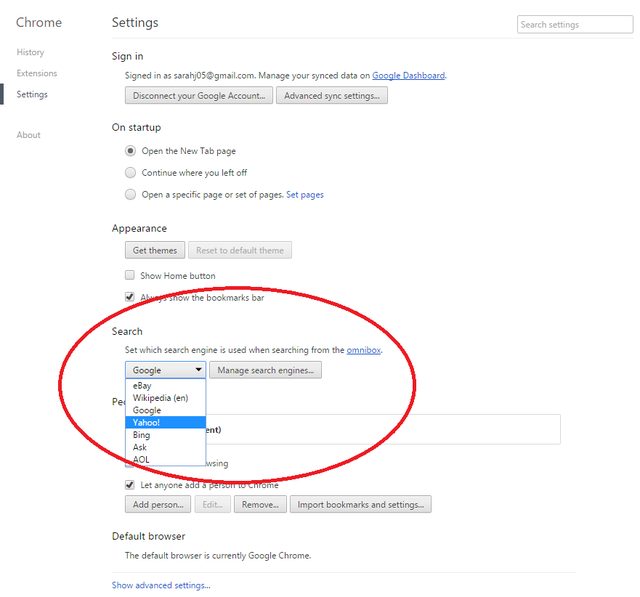
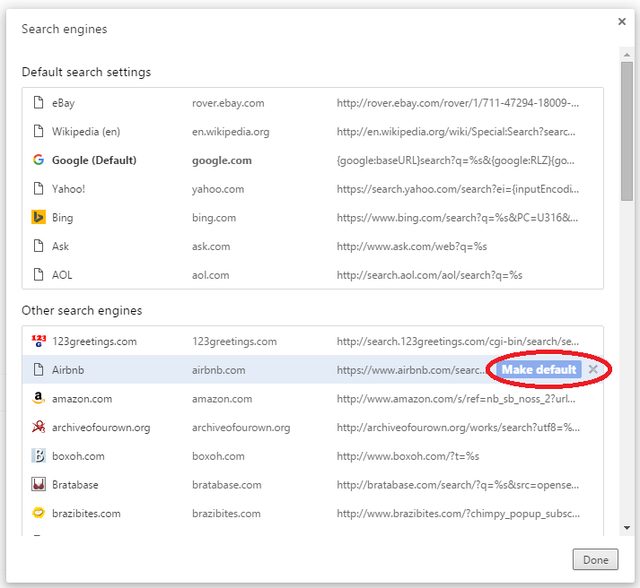
3. If you want to use another search engine option then you can click on Manage search engines… which opens current list of search engines and other as well. To choose you have to take your cursor on it and then select Make default button appears there followed by Done to close the window.
Reset Browser Settings to Completely Remove Searches.cloud
For Google Chrome :
1. Click on Menu icon (☰) followed by Settings option from the drop down menu.
2. Now tap Reset settings button.
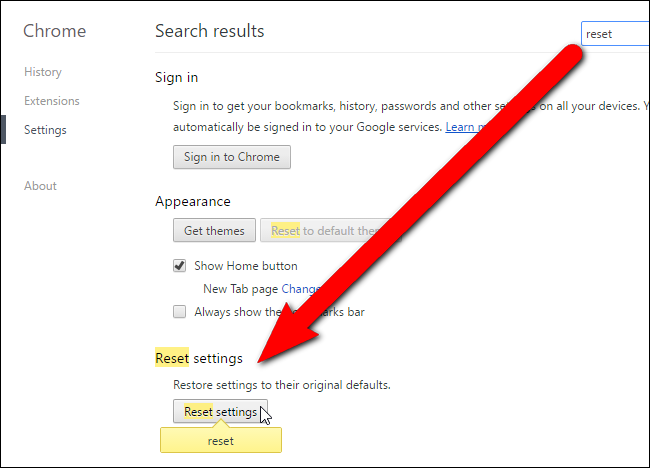
3. Finally select Reset button again on the dialog box appeared for confirmation.

For Mozilla Firefox :
1. Click on Settings icon (☰) and then to Open Help Menu option followed by Troubleshooting Information from drop down menu.

2. Now Click on Reset Firefox… on the upper right corner of about:support page and again to Reset Firefox button to confirm the resetting of Mozilla Firefox to delete Searches.cloud completely.

Reset Internet Explorer :
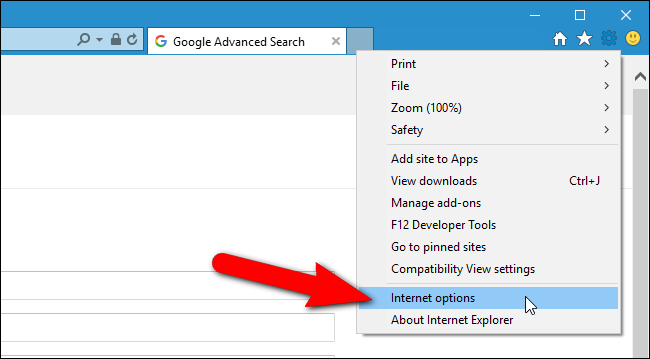
1. Click on Settings Gear icon and then to Internet options.
2. Now tap Advanced tab followed by Reset button. Then tick out the Delete personal settings option on the appeared dialog box and further press Reset button to clean Searches.cloud related data completely.
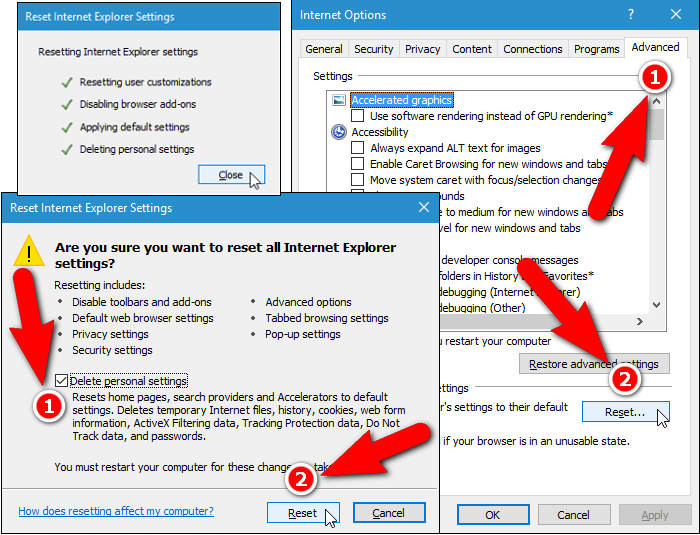
3. Once Reset completed click on Close button and restart Internet explorer to apply the changes.
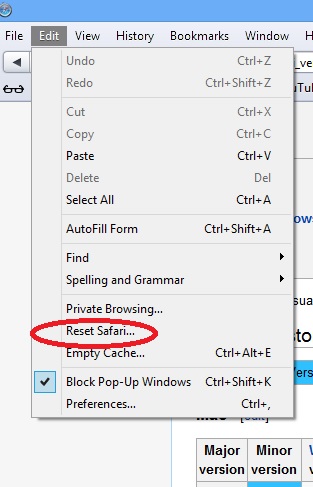
Reset Safari :
1. Click on Edit followed by Reset Safari… from the drop down menu on Safari.
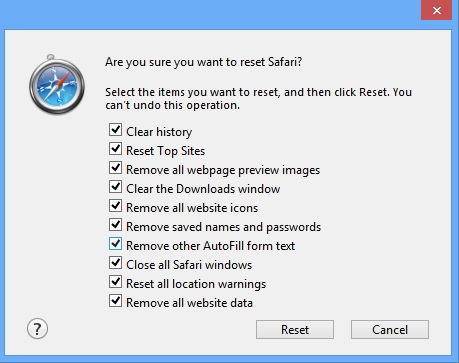
2. Now ensure that all of the options are ticked out in the appeared dialog box and click on Reset button.
Uninstall Searches.cloud and other Suspicious Programs From Control Panel
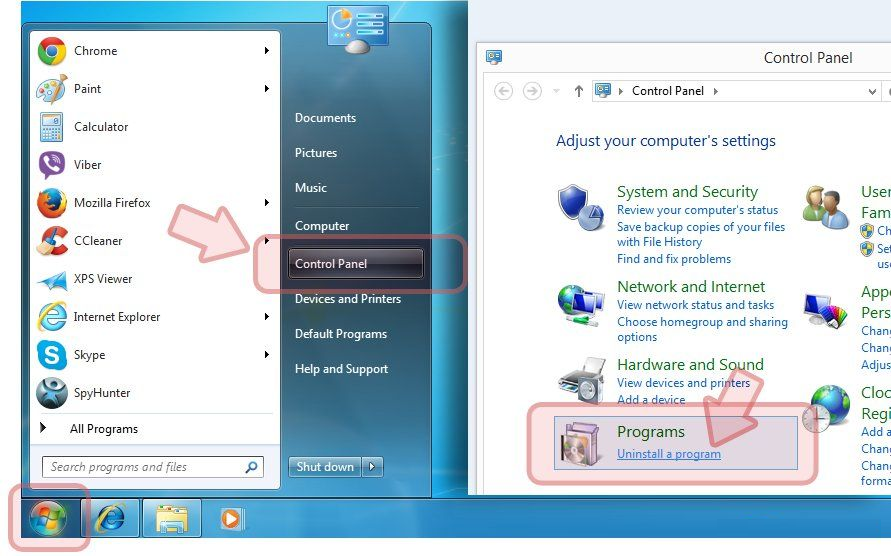
1. Click on Start menu followed by Control Panel. Then click on Uninstall a program below Programs option.
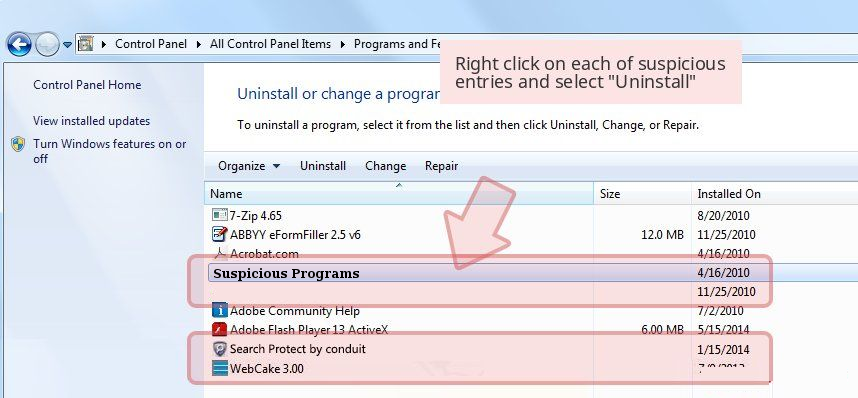
2. Further find and Uninstall Searches.cloud and any other unwanted programs from the Control panel.
Remove Unwanted Toolbars and Extensions Related With Searches.cloud
For Chrome :
1. Tap on Menu (☰) button, hover on tools and then tap on Extension option.
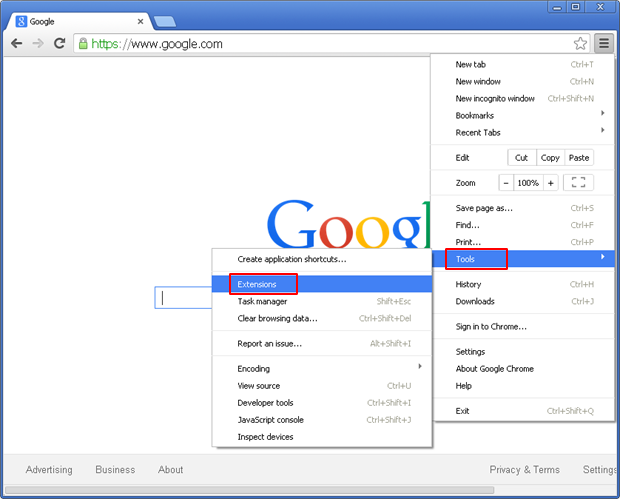
2. Now click on Trash icon next to the Searches.cloud related suspicious extensions to remove it.

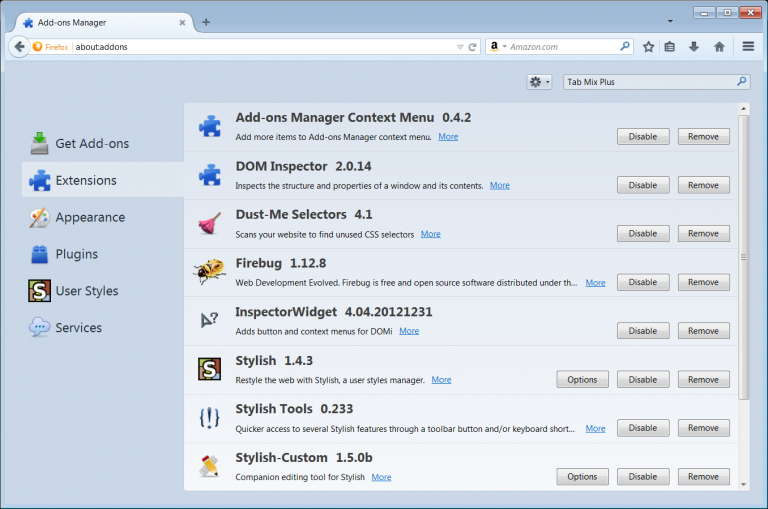
For Mozilla Firefox :
1. Click on Menu (☰) button followed by Add-ons.
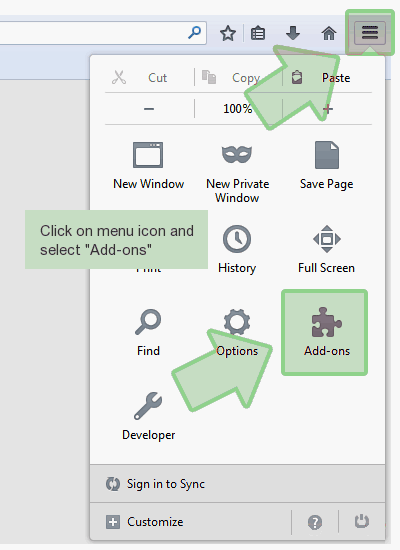
2. Now select the Extensions or Appearance tab in Add-ons Manager window. Then click on Disable button to remove Searches.cloud related extensions.
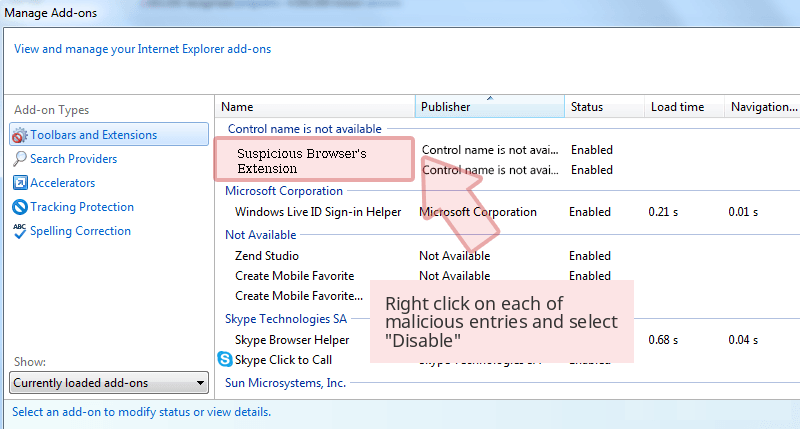
For Internet Explorer :
1. Click on Settings Gear icon and then to Manage add-ons.

2. Further tap on Toolbars and Extensions panel and then Disable button to remove Searches.cloud related extensions.
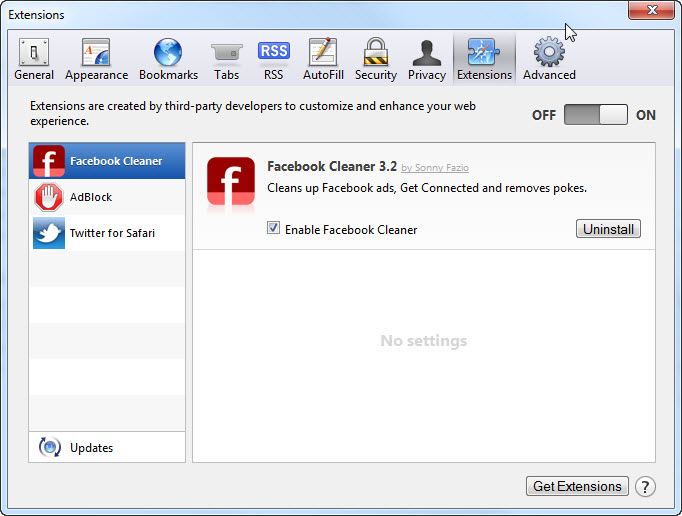
From Safari :
1. Click on Gear Settings icon followed by Preferences…

2. Now tap on Extensions panel and then click on Uninstall button to remove Searches.cloud related extensions.
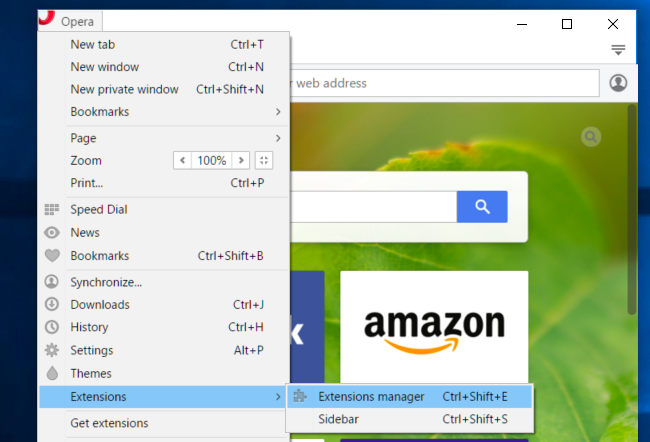
From Opera :
1. Click on Opera icon then hover to Extensions and click Extensions manager.
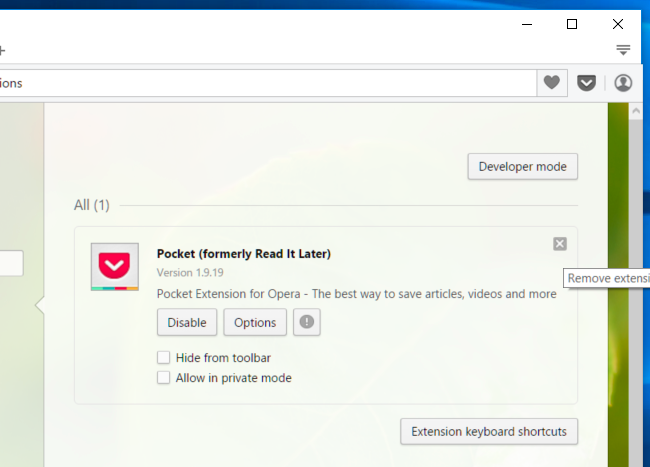
2. Now click on X button next to unwanted extensions to remove it.
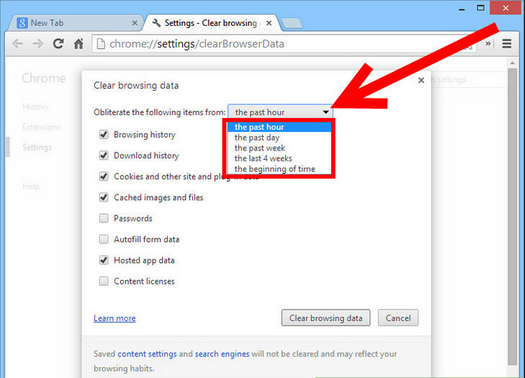
Delete Cookies to Clean Up Searches.cloud Related Data From Different Browsers
Chrome : Click on Menu (☰) → Settings → Show advanced Settings → Clear browsing data.
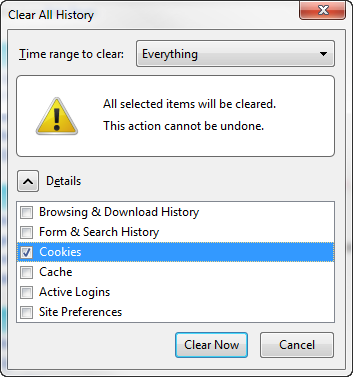
Firefox : Tap on Settings (☰) →History →Clear Reset History → check Cookies → Clear Now.
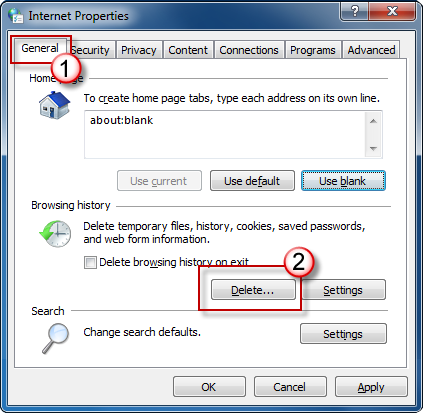
Internet Explorer : Click on Tools → Internet options → General tab → Check Cookies and Website data → Delete.
Safari : Click on Settings Gear icon →Preferences → Privacy tab → Remove All Website Data…→ Remove Now button.

Manage Security and Privacy Settings in Google Chrome
1. Click on Menu (☰) button followed by Settings.
2. Tap on Show advanced settings.
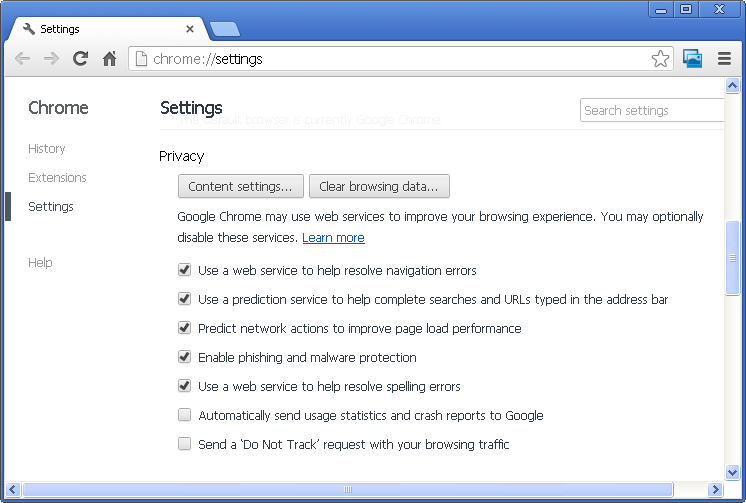
- Phishing and malware protection : It is enables by default in privacy section. Warns users if detected any suspicious site having phishing or malware threats.
- SSL certificates and settings : Tap on Manage certificates under HTTPS/SSL section to manage SSL certificates and settings.
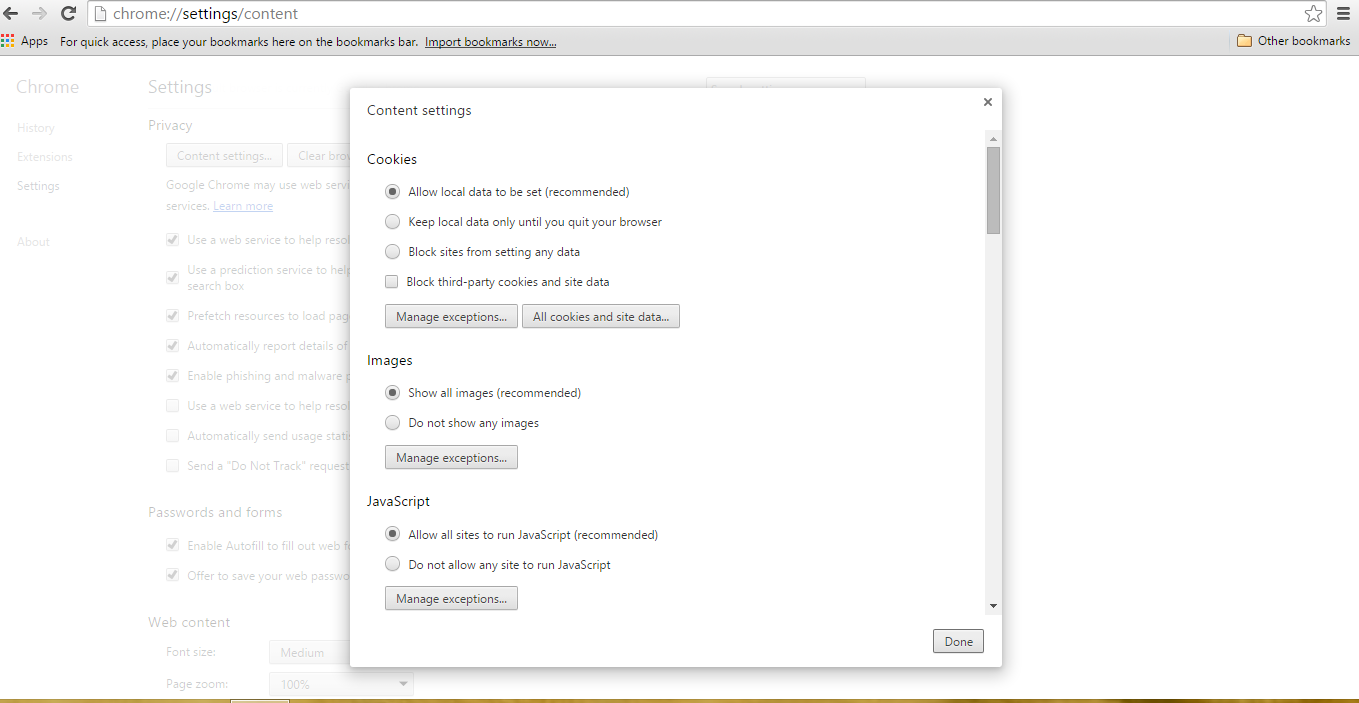
- Web Content settings : Go to Content settings in Privacy section to manage plug-ins, cookies, images, location sharing and JavaScript.
3. Now tap close button when done.

If you are still having issues in the removal of Searches.cloud from your compromised system then you can feel free to talk to our experts.

Related Posts
 ExecutiveOperation Search Removal: Best Way To Remove ExecutiveOperation Search In Simple Clicks
- Best Way To Get Rid Of IMovieSearch Search
- Delete MixedFin from Internet Explorer : Clear Away MixedFin
- Deleting Search-fine.com Manually
- Delete Search.basicgeneration.com from Opera
- Removing Spacerin Search Easily