
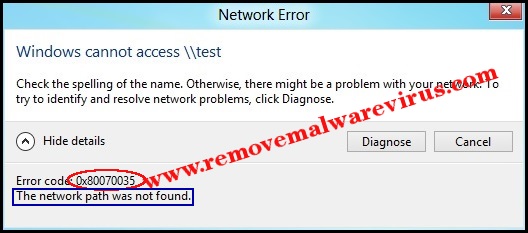
If you are reaching at this post and ready to read this guide then it ensures that you are encountering with error code 0x80070035 or The network path was not found error message and looking for an easy solution to fix it. Well, this guide includes an easy and appropriate solution through which you can easily fix error code 0x80070035 on your Windows network. To know how you can, go through this guide completely.
Quick Glance On Error Code 0x80070035
The most legitimate company Microsoft allows its user with Windows OS and sharing same network to access the system data as well as files on other computer without any cable. The connectivity of System or device on same network makes user daily task too much easier. But sometimes due to some unexpected factors users might suffer with error code 0x80070035 and The network path was not found error message. Well, the good news is that there is a possibility to fix error code 0x80070035 in windows internal network.
Universal Solutions To Fix Error Code 0x80070035 In Windows Network
Solution 1 : Reinstall Network Adapters
-
- First of all, connect your Windows PC to Internet.
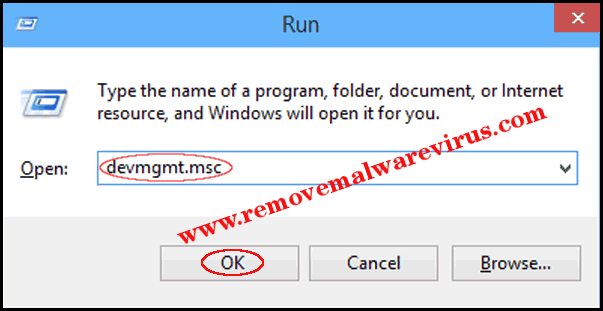
- Open Run window by pressing Win+R key.

-
- In Run window, type devmgmt.msc and hit on Enter key to start Device Manager.
-
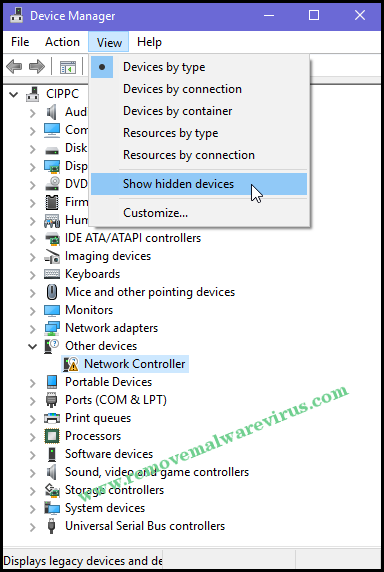
- On the appeared Device Manager windows, go to View tab and check the box of ‘Show hidden devices’.
-
- Right-click on all drivers and then after uninstall them.
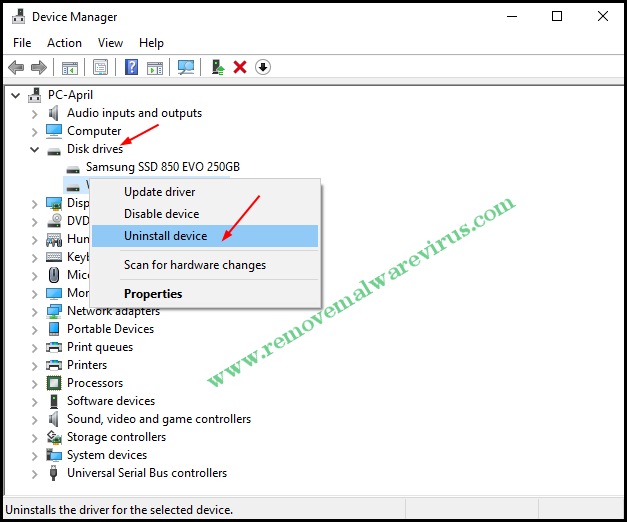
- Now, restart your Windows system.
Solution 2 : Execute Update Troubleshooter
-
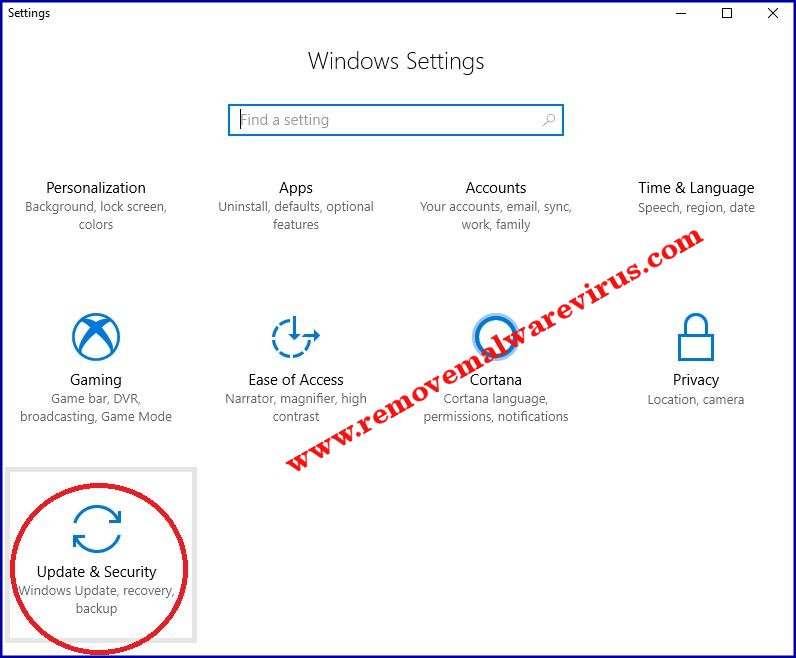
- Start your PC and go to Settings app.
- Move your cursor to Updates & Security and then after choose Troubleshoot option.
-
- After that click on Windows Update option and then choose Run the troubleshooter option.
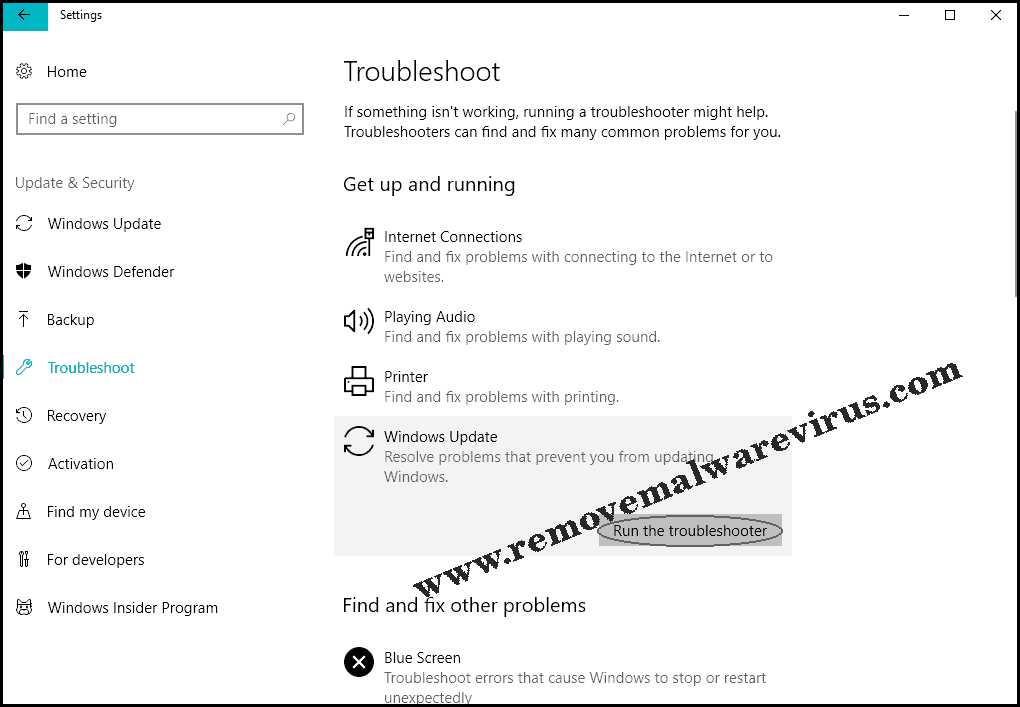
- On next, follow the provided step by step procedure and let to finish the procedure.
- At last, restart your Windows PC.
Solution 3 : Be Sure That TCP/IP NetBIOS Helper Service Is Executing
-
- At first, start your Windows PC.
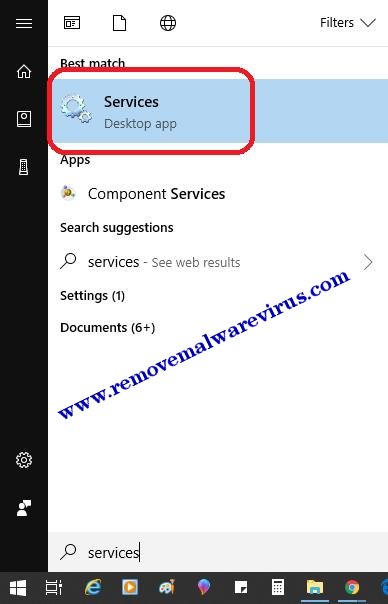
- Go to Windows search bar and type Services on it.
- From the appeared list of results, choose Services option and press on Enter button.
-
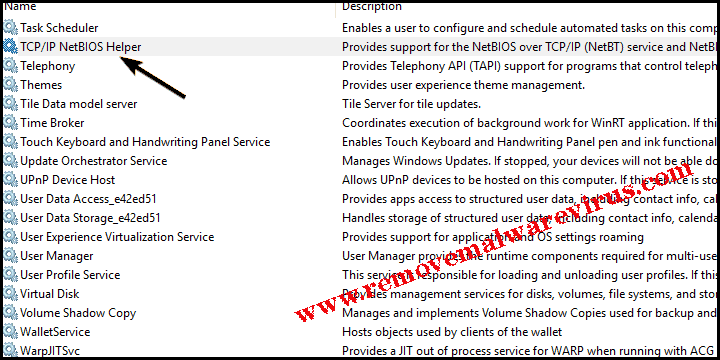
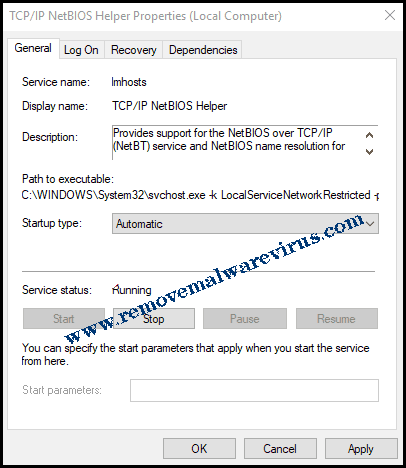
- Now, navigate to the TCP/IP NetBIOS Helper and right-click on it to open the Properties.
-
- On next, go to Startup type section, choose Automatic option and then click on OK button to confirm the changes.
Solution 4 : Enable The NetBIOS
-
- Open Run box by holding Win+R key together.
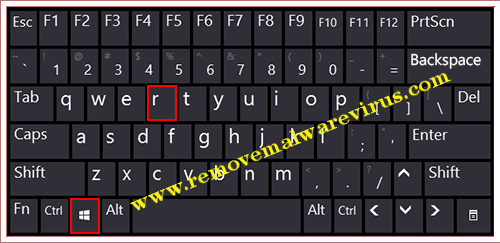
-
- In the opened Run box, type NCPA.CPL and press on Enter key.
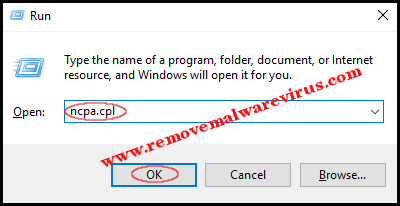
-
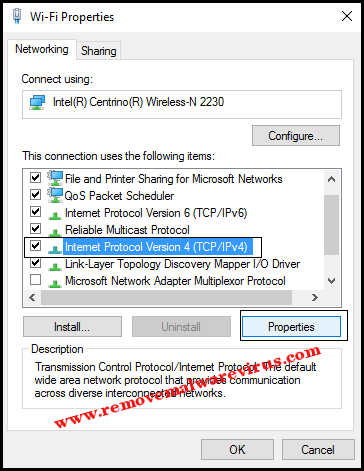
- On next, right-click on the default network and then after open Properties.
- Now, you have to highlight TCP/IPv4 and then click on Properties button.
-
- Go to General tab and click on Advanced button.
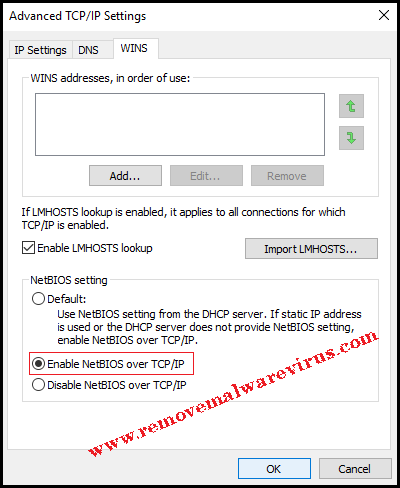
- From Advanced TCP/IP Settings window choose WINS tab.
- Click on mouse on ‘Enable NetBIOS over TCP/IP’ and click on OK button in order to confirm all changes.
Solution 5 : Run SFC and DISM Scan
-
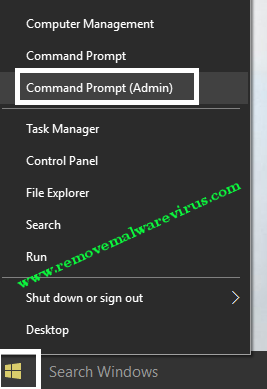
- Start your PC and go to search field.
- In search field, type cmd and open your Command Prompt as System administrator.
-
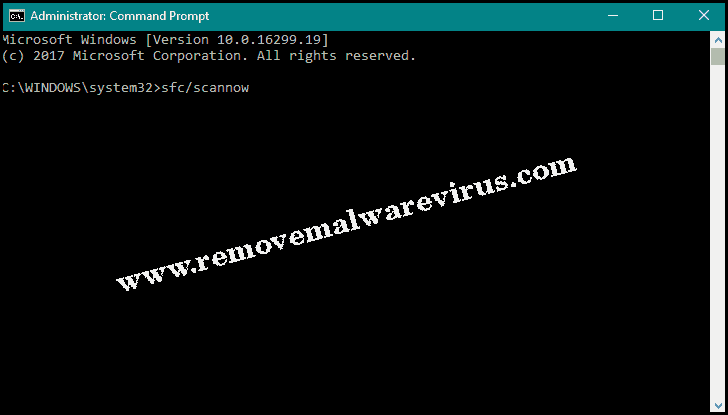
- On the command prompt, type sfc/scannow and hit on Enter button.
-
- To execute DISM scan, type DISM /Online /Cleanup-Image /RestoreHealth and press on Enter button.
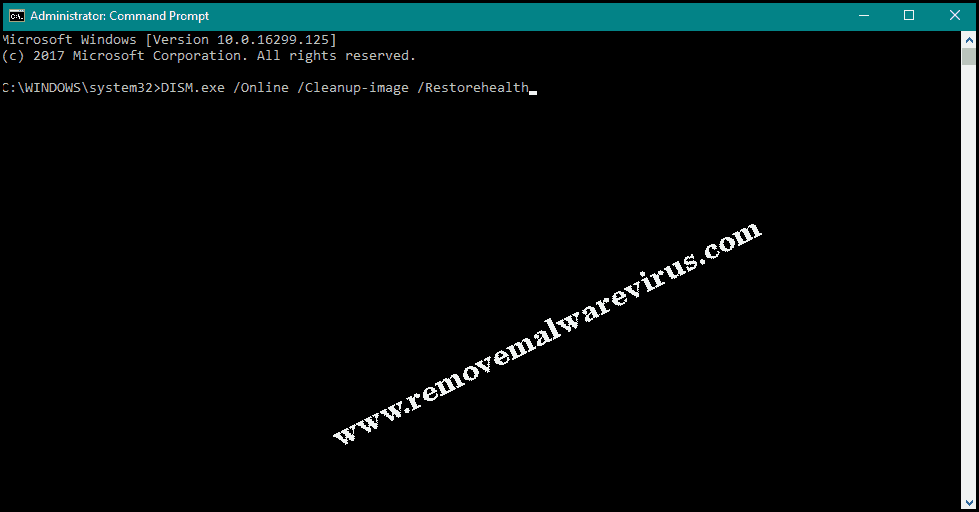
- Now, wait until the scanning procedure ends.
- Lastly, restart your Windows PC.
Related Posts
 New AgeLocker Ransomware Abuses Legit ‘Age’ Encryption Tool
 Five Ways to Check If a Website Is Safe?
 Resolve The Recycle Bin on C:/ is corrupted Error on Windows 10
 (Resolved) Headphones Not Working In Windows 10
 Best Method To Fix The Javaw.exe Error On Windows
 (Resolved) 0X000000A5 Blue Screen Stop Error on Windows