
This post includes an effective procedure to disable the Windows 10 lock screen. If you are a Windows 10 user and want to disable the lock screen then reading of this expert’s guide will be really too much helpful for you. Here, you will know the step by step instruction to disable the Windows 10 lock screen. So, read this post completely.

Reasons For Disabling The Windows 10 Lock Screen
Windows 10 lock screen is a feature of the latest version of Windows OS but this feature is not useful for some users. Lock screen often represents an extra step between the user who is sitting down in front of Computer and being capable to use it. So, some of the Windows 10 user want to disable the Windows 10 lock screen. If you are also one of them then luckily you are at the right place. Follow the below described instruction in exact order.
Step By Step Instruction To Disable the Windows 10 Lock Screen
Method 1 : Disable the Windows 10 Lock Screen In Home Edition
-
- Start your Windows 10.
- Go to Start icon and click on Search.
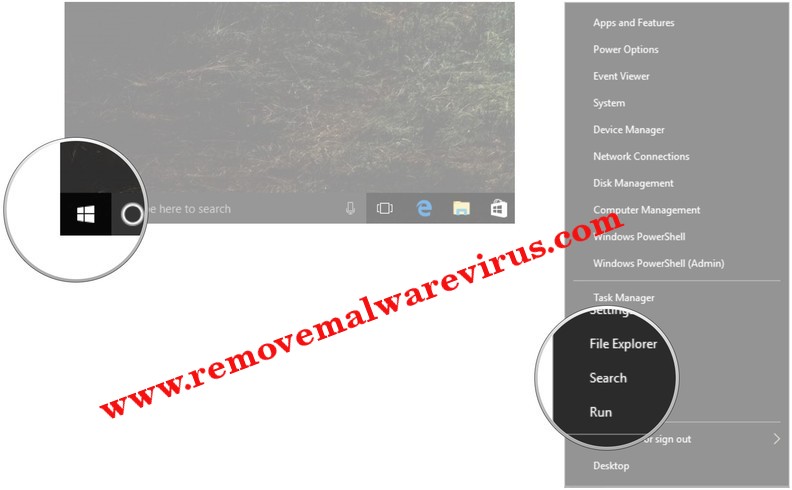
-
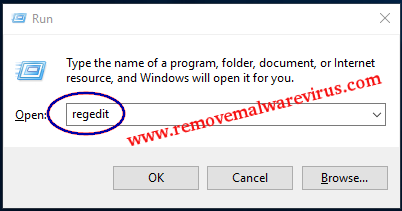
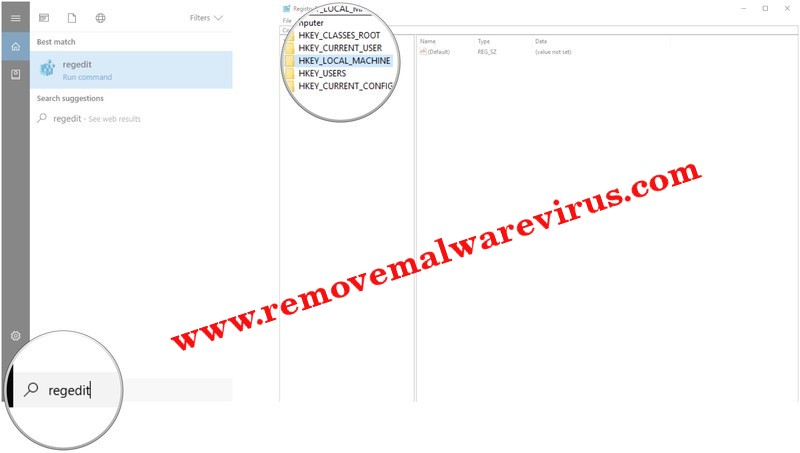
- In search box, type regedit and hit on Enter key.
-
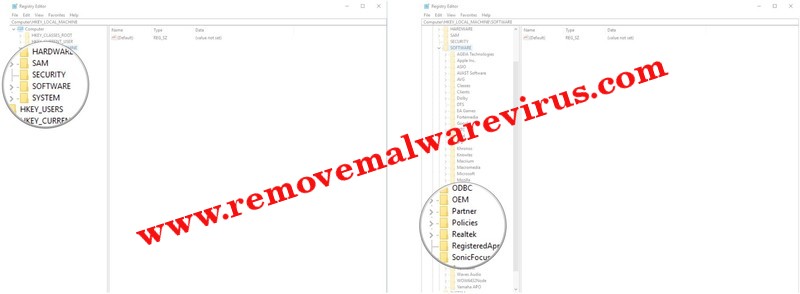
- On next, double-click on the HKEY_LOCAL_MACHINE
-
- After that double-click on SOFTWARE.
-
- Double-click on Policies.

-
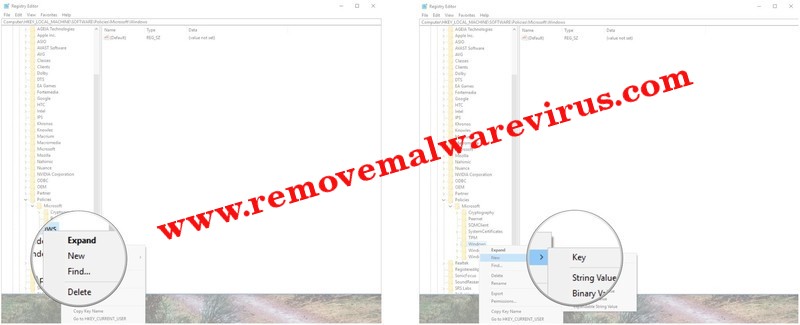
- Double-click on Microsoft to expand it.
- After that right-click on Windows.
- On next, click on New and then after click on Key.
-
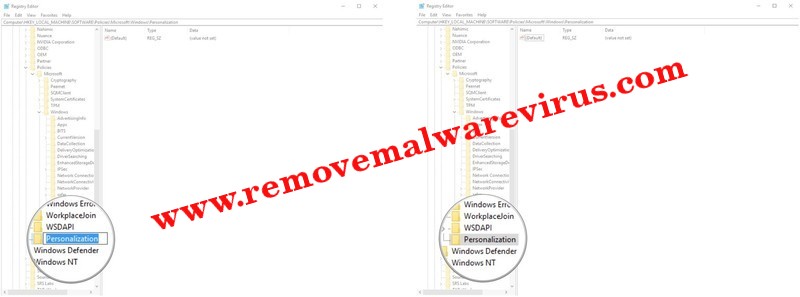
- Rename the New key as you just created Personalization and then press on Enter button.
- In folder of Personalization, right-click in right pane of Registry Editor.
-
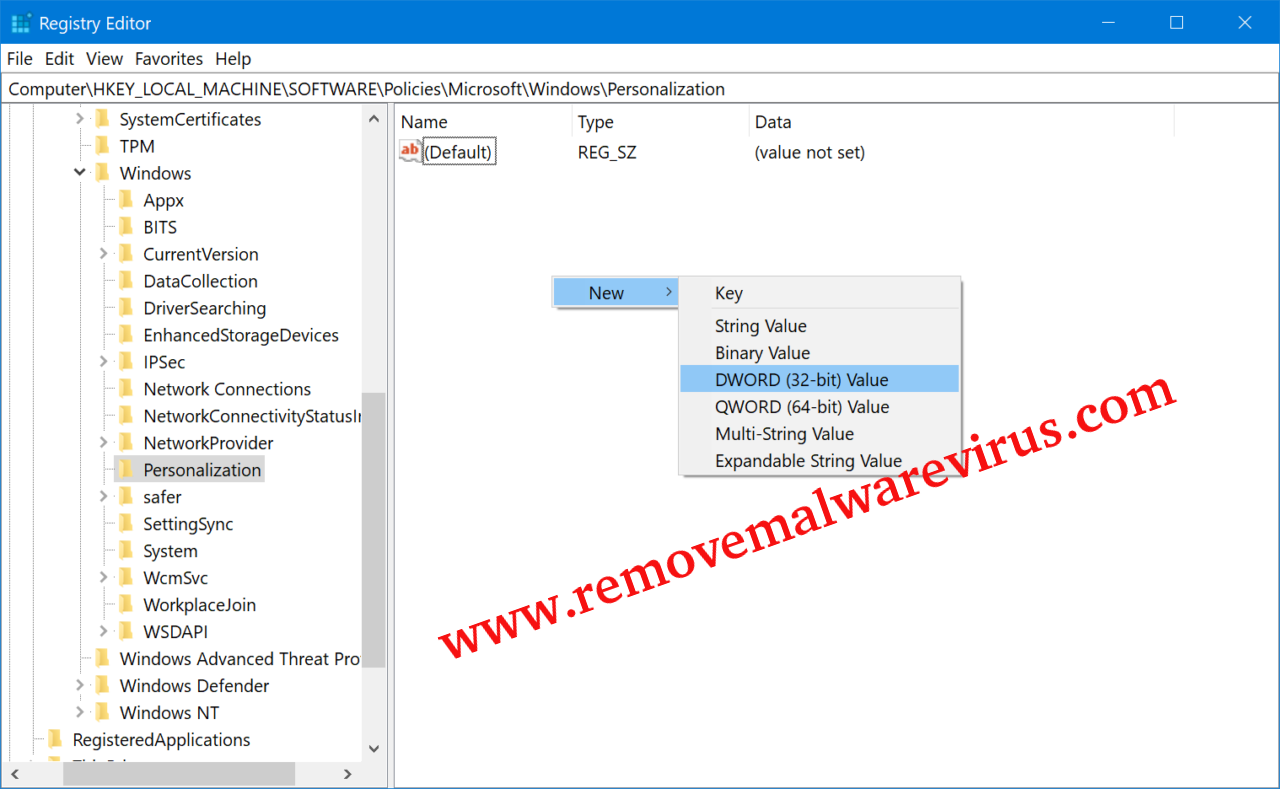
- Choose New option and then choose option of DWORD (32-bit) value.
-
- Now, you will see the new item in pop-up form just in right pane of Registry Editor.
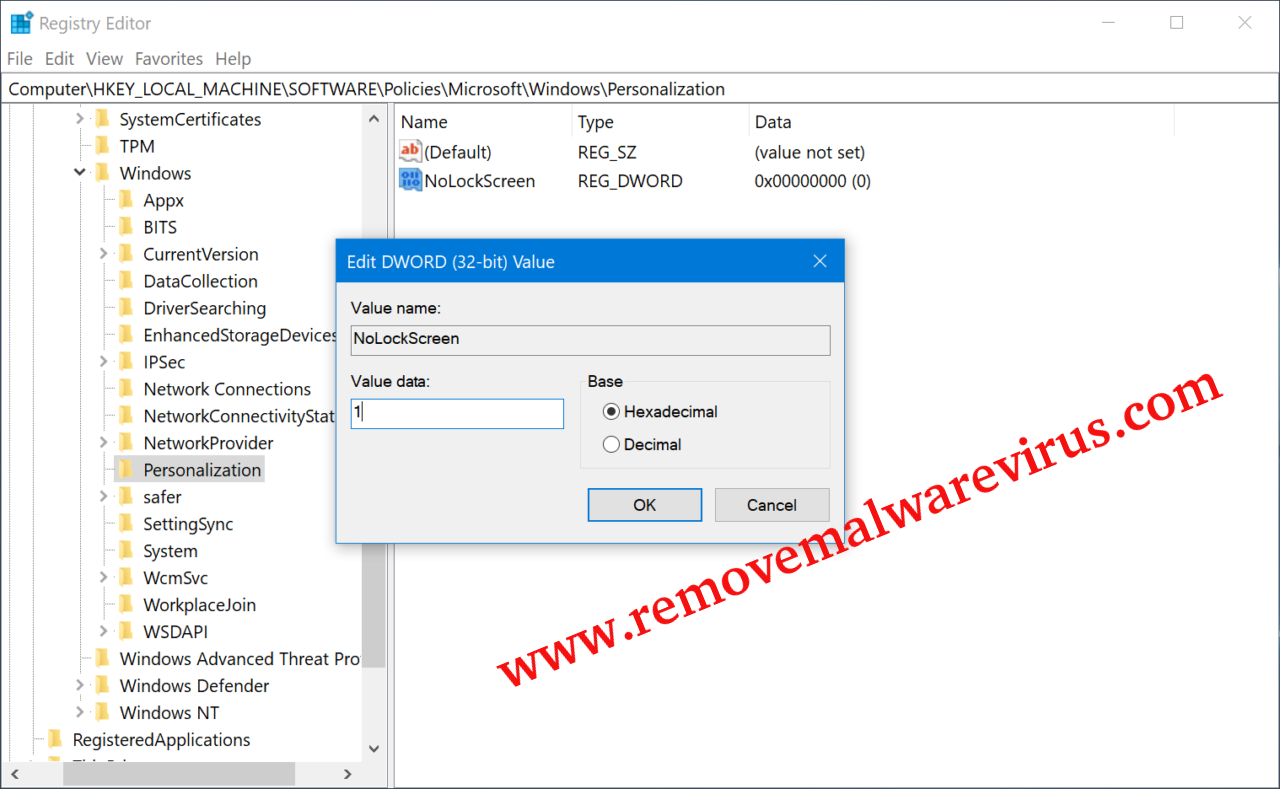
- Rename the new key as NoLockScreen and press on Enter button.
- To open the value data or this key, double-click on NoLockScreen.
- Under the Value data, modify value from 0-1 and then hit on OK button.
- At last, exit out of Registry Editor and after that restart your Windows 10 PC.
Method 2 : Disable the Windows 10 Lock Screen In Pro Edition
-
- Launch Windows 10 machine.
- Go to Start >> click on Search.
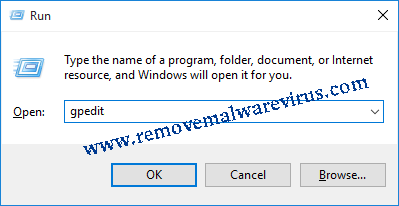
- Once search box will be opened, type gpedit and then press on Enter key.
-
- Double-click on the Administrative Templates.
- After that double-click on the Control Panel to expand.
- From Control Panel window, choose Personalization option.
- On next, double-click on “Do not display the lock screen” option and then click on Enabled button.
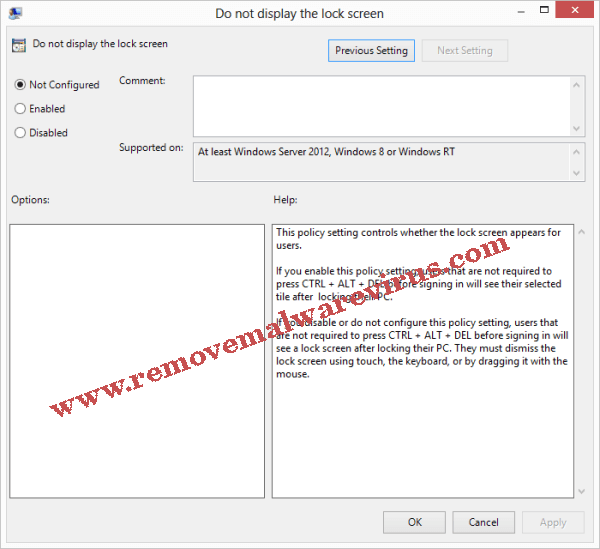
- Click on Apply >> OK button to save all modification on Windows 10 machine and disable the Windows 10 lock screen.
Related Posts
 New AgeLocker Ransomware Abuses Legit ‘Age’ Encryption Tool
 Five Ways to Check If a Website Is Safe?
 Resolve The Recycle Bin on C:/ is corrupted Error on Windows 10
 (Resolved) Headphones Not Working In Windows 10
 Best Method To Fix The Javaw.exe Error On Windows
 (Resolved) 0X000000A5 Blue Screen Stop Error on Windows