
Are you facing ERROR_FILE_NOT_FOUND error on your Windows machine? Worried too much after getting this error message? Looking for appropriate solution to fix this error code? If so, read this post and follow the below mentioned instructions as in exact order.
Things That You Must Know About ERROR_FILE_NOT_FOUND
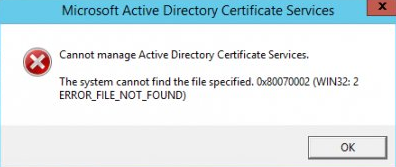
ERROR_FILE_NOT_FOUND is actually a Windows System error faced by almost all Windows OS user while installing any programs. It may appear on your screen at any time ant at anywhere. Such an error message is usually displayed in pop-up message that includes name of program that cannot be used or installed. Behind the appearances of ERROR_FILE_NOT_FOUND error, there are numerous factors responsible but some of them are :
- Incorrect installation of System program.
- Corrupted installation of system updates.
- Changed in file or folder name.
- Rename of the registry keys.
- Malware or virus infection.
- Mistakenly deletion of Windows OS related files and many more.
Effective Solution To Fix ERROR_FILE_NOT_FOUND Error On Windows
Solution 1 : Execute Microsoft’s System File Checker
-
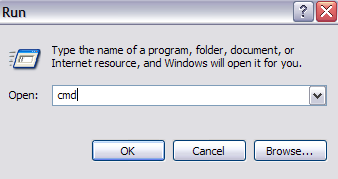
- Open your Windows search box by pressing Win+R key.

-
- In Run box, type cmd and click on OK button.
-
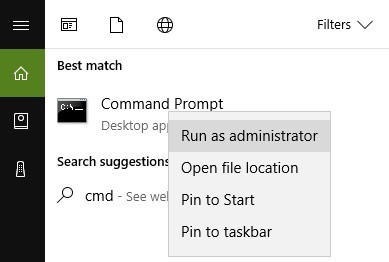
- From the appeared search results, right-click on Command Prompt and select option of Run as Administrator.
-
- In Command Prompt, type sfc /scannow.
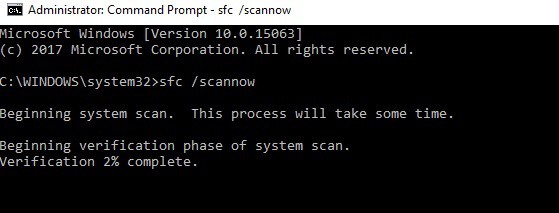
- Wait, until the procedure gets completed.
Related News: How To Fix Error Code 0x80240438 On Windows 10?
Solution 2 : Execute chkdsk Scan To Fix Disk Issues
-
- In the opened search box > type cmd > press on OK button > right-click on option to launch Command Prompt As Administrator.
-
- In command prompt, enter chkdsk/f X: and press on Enter key. You can replace X with appropriate letter of your partition.
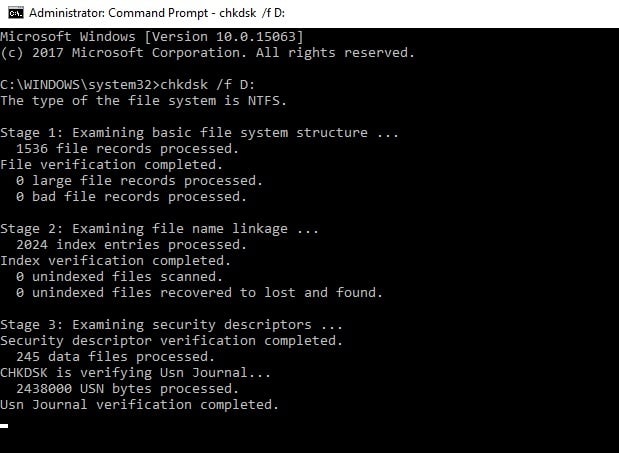
- Now, wait until chkdsk repair your System files.
Solution 3 : Clean Your Temporary Files & Folders
-
- Go to Start > and type command in search box.
- Then hold down the Ctrl+Shift key together and click on Enter key.
- If a permission dialog box will be appear on your screen, click on Yes button.
- In black box, input cleanmgr and then press on Enter button. Disk Cleanup will launch on your screen.
- Now, Disk Cleanup initiates its task and displays the dialog box where you can easily select your preferable file that you really want to delete.

- Choose all options in the Temporary files and click on OK button.
Solution 4 : Update Your Windows OS
-
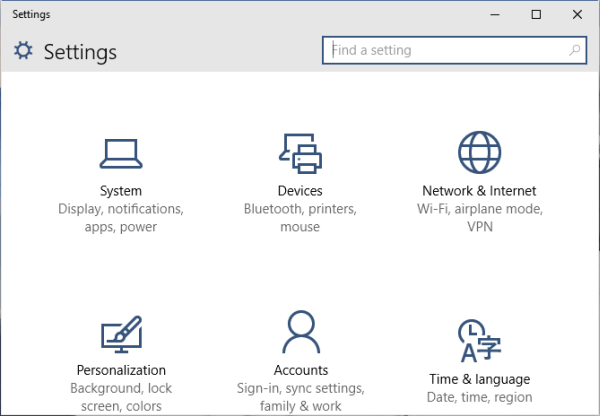
- In your Windows 10 PC, go to Settings.
-
- In Settings, click on ‘Update & security’. And then hit on Windows Update option.
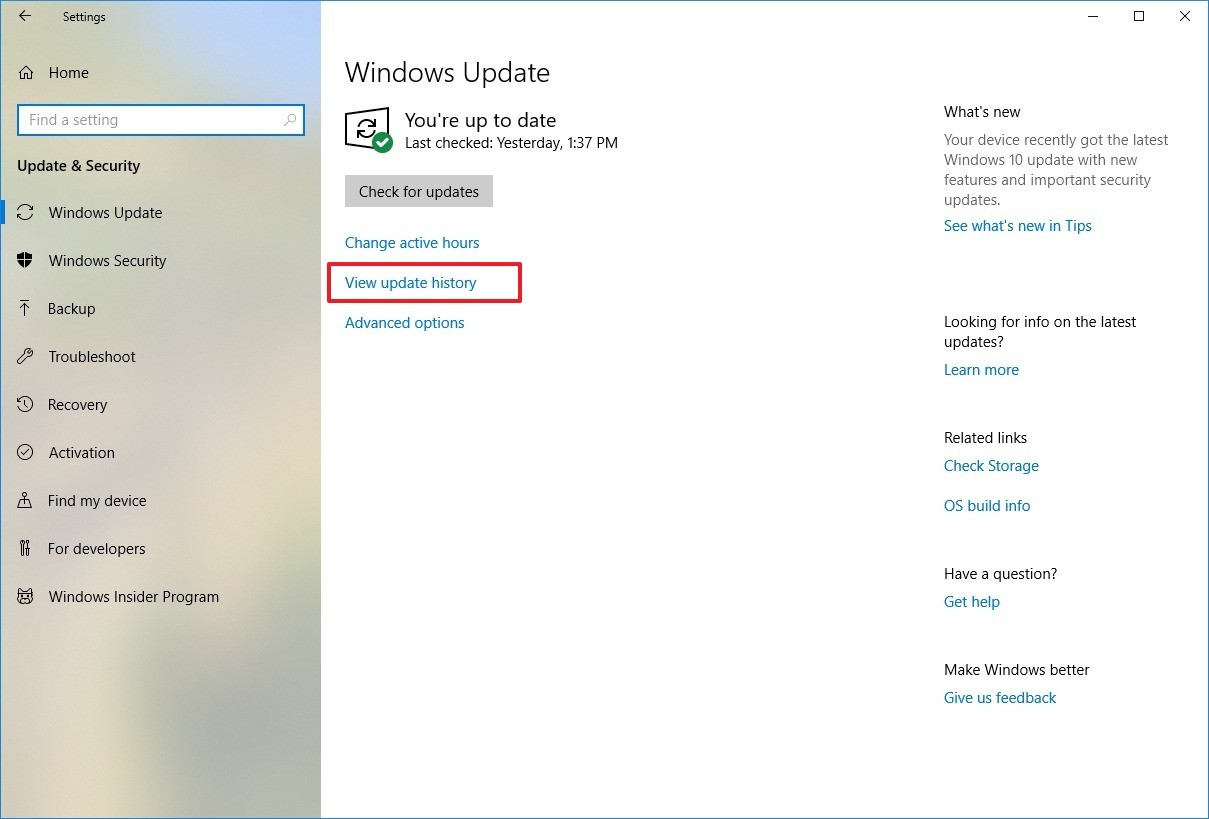
- On next, click on the button of ‘Check for updates’ and follow the on-screen instruction to install successfully.
Solution 5 : Delete Your Windows.old Folder
-
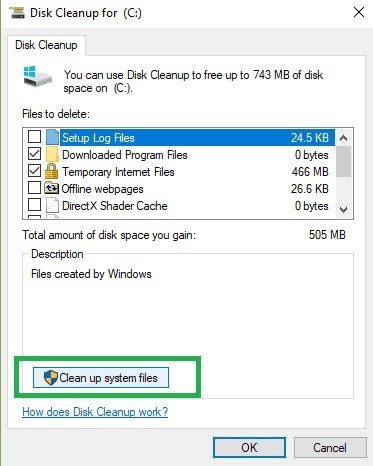
- Open Disk Cleanup.
-
- Choose C drive and then click on ‘Clean up system files’.
-
- Now, wait because this utility calculates how much free space in your PC.
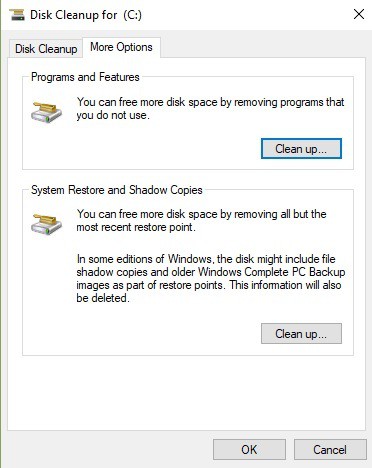
- On the next window, click on More Options tab.
- Then click on the Clean up… button that appeared under ‘System Restore and Shadow Copies’ section.
Related Posts
 New AgeLocker Ransomware Abuses Legit ‘Age’ Encryption Tool
 Five Ways to Check If a Website Is Safe?
 Resolve The Recycle Bin on C:/ is corrupted Error on Windows 10
 (Resolved) Headphones Not Working In Windows 10
 Best Method To Fix The Javaw.exe Error On Windows
 (Resolved) 0X000000A5 Blue Screen Stop Error on Windows